Discover the satisfaction of creating your own cozy and stylish slippers with this comprehensive guide to DIY slipper-making. By learning about materials, measuring, design selection, cutting and sewing, and assembling, you will be on your way to crafting the perfect pair for yourself or as a thoughtful gift for someone special. Along the way, you’ll also gain valuable insights into personalizing your creations and properly caring for them, as well as troubleshooting and exploring advanced techniques.
DIY Slippers: How to Make Your Own
Making your own slippers requires you to choose the right materials for the upper part, the sole, and the padding to ensure comfort and warmth. Here’s an overview of the various materials you can use:
Fabrics for the upper part:
- Fleece: This soft, warm, and lightweight fabric is an ideal choice for making cozy slippers. It’s easy to work with, doesn’t fray when cut, and comes in various colors and patterns.
- Wool: Wool is an excellent insulating material, keeping your feet warm in colder temperatures. You can use felted wool or knitted wool fabric for your slippers. However, be aware that wool can be more expensive than other fabrics and may require special care during washing.
- Cotton: Cotton is a natural and breathable fabric that can be used for making slippers. While it’s not as warm as fleece or wool, it can still provide adequate comfort for indoor use. Choose a heavier-weight cotton, like flannel or canvas, for better durability.
Materials for soles:
- Leather: Leather soles provide a sturdy, durable, and moisture-resistant base for your slippers. You can use soft, high-quality leathers like cowhide or suede for the most comfort.
- Suede: This type of leather has a softer, more suede-like finish that provides a good grip on smooth surfaces. It’s an excellent choice for indoor slippers, but may not be as moisture-resistant as other leather types.
- Rubber: Rubber soles offer excellent grip and durability for your slippers, making them suitable for both indoor and outdoor use. You can choose a thin rubber sheet (such as a yoga mat or a rubber floor mat) or purchase pre-made rubber soles from a craft store.
Padding materials:
- Memory foam: Memory foam padding is comfortable and can conform to the shape of your feet, providing excellent cushioning for your slippers.
- Cotton batting: This soft, fluffy material can be used as padding for your slippers, providing extra warmth and comfort. Make sure to use a thick layer to ensure adequate cushioning.
- Polyester fiberfill: This synthetic padding material is lightweight and can retain its shape well, making it an excellent choice for padding your slippers.
Based on your preferences and budget, you can experiment with various combinations of the above-mentioned materials. For example, if you want warm slippers for cold weather, you could use wool fabric for the upper part, leather or suede for the sole, and memory foam padding for added comfort. Alternatively, if you’re looking for summer slippers, you can go for a lightweight cotton upper part, a rubber or suede sole, and thinner padding.
In summary, when making your DIY slippers, it’s essential to consider the materials for the upper part, sole, and padding. Make sure to look at the pros and cons of each material to choose the best combination that will meet your needs for comfort and warmth.
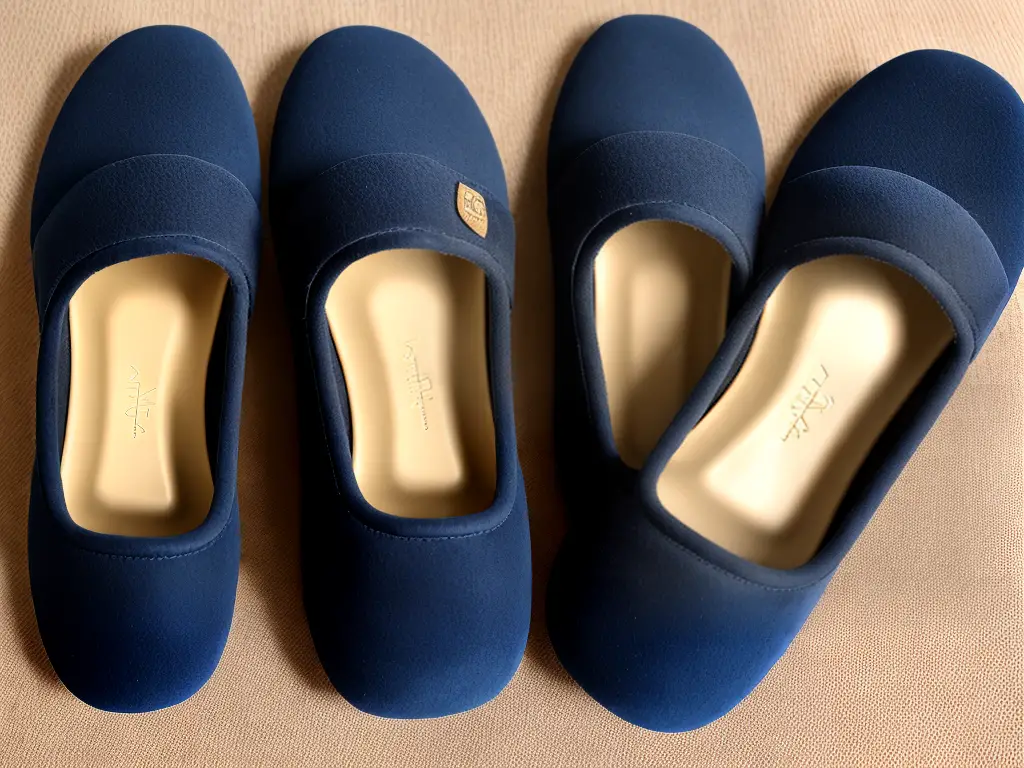
DIY Slippers: Measuring and Creating a Pattern
Creating your own pair of cozy slippers can be a fun and practical project. In order to make your own slippers, you will need to first measure your feet and create a pattern. Follow these instructions to ensure a perfect fit and a comfortable pair of slippers.
Materials:
- Pen or pencil
- Ruler
- Scissors
- Cardboard or stiff paper (for pattern)
- Tape
Step 1: Measure your feet
- Stand on a blank piece of paper on a flat surface with your full weight on your feet.
- Trace around each foot with a pen or pencil, keeping the pen upright and close to the edge of your foot.
- Measure the length of each foot tracing at the longest points (from the tip of your big toe to the tip of your heel).
- Measure the width of each foot tracing at the widest points (from the edge of your little toe to the edge of your big toe joint).
Step 2: Determine the dimensions for the slipper pattern
- Add 1 inch (2.5 cm) to both the length and width measurements to account for seam allowances and a small amount of wiggle room.
- Record the adjusted measurements for both feet. This will be used to create the pattern for your slippers.
Step 3: Create the slipper pattern
- Draw a rectangle on the stiff paper or cardboard using the adjusted measurements for the length (longer side) and width (shorter side).
- Cut out the rectangle for each foot. These rectangles will be the base of your slipper pattern.
- In order to create a pattern for your slippers, you will need to create two more templates: one for the top part of your foot (the vamp) and one for the heel of your slipper.
- For the vamp, draw a half-circle on the longer side of the rectangle, with the flat side of the half-circle touching the rectangle. The diameter of the half-circle should be the same as the width of the rectangle. Cut out the half-circle.
- For the heel, draw a small square at one of the shorter sides of the rectangle, the side which will be the back of the slipper. This square should measure about 2 inches (5 cm) wide and 2 inches (5 cm) high. Add an extra 0.5 inches (1.25 cm) to each side of the square for seam allowance. Cut out the square.
- Label each template according to which foot it corresponds to (left or right foot).
Now that you have measured your feet and created a pattern, you’re all set to begin sewing your DIY slippers. Choose the fabric and other materials you want to use and follow a sewing tutorial to construct your comfortable and stylish slippers.

Instructions for Selecting a Design and Style for your DIY Slippers:
Step 1: Research different slipper designs/styles
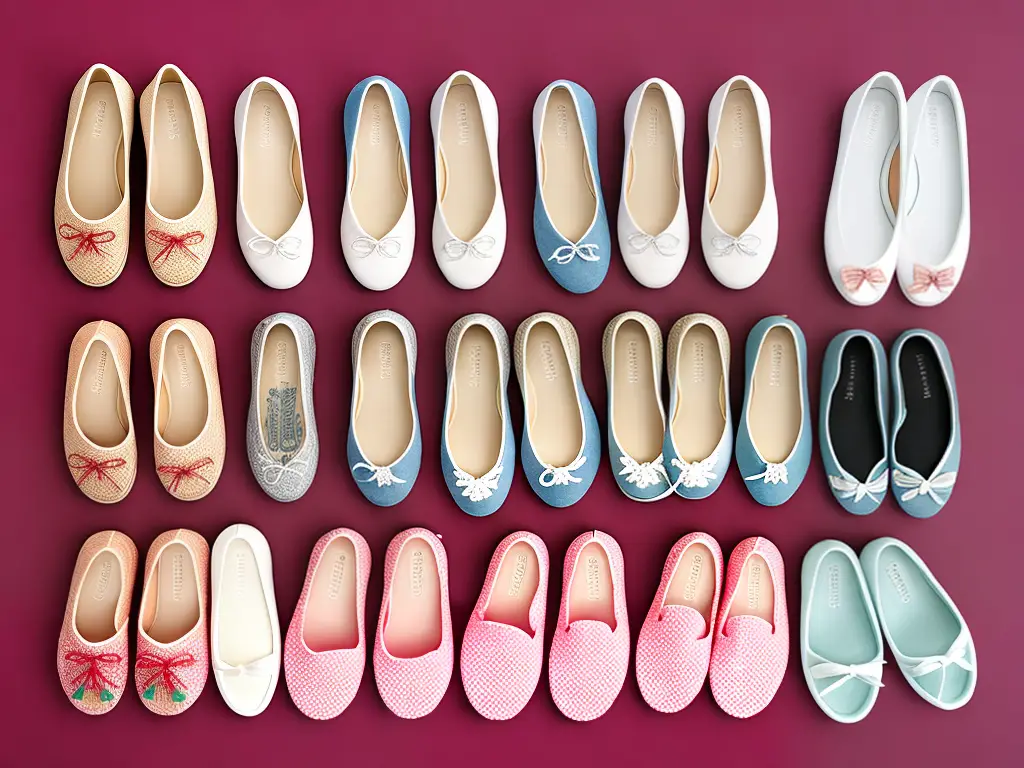
Begin by researching various slipper designs and styles to get a better understanding of what options are available for you to make. Some popular designs and styles include:
- Moccasins
- Booties
- Open-toe slippers
- Slip-on slippers
- Ballet flats
- Ankle boots
Look for images, examples or patterns online and in crafting books that can provide inspiration for your project.
Step 2: Consider your skill level
Before settling on a design, it’s important to consider your skill level in terms of sewing, knitting, or crocheting. Some slipper designs may be more complicated and time-consuming to make than others. For example, moccasins or booties might require more intricate stitching, while open-toe or slip-on slippers may be simpler to make.
Step 3: Determine your preferred material
When selecting a DIY slipper design, consider the type of material you would like to work with. Materials such as fabric, yarn, or felt will impact the final outcome of your project. Each material has its benefits and drawbacks, so it’s essential to choose one that best suits your comfort level and desired slipper design.
Step 4: Choose a design based on your foot size and measurements
It’s important to select a slipper design that fits your foot size and shape. Be sure to measure your foot accurately and use these measurements to choose a pattern or design that accommodates your feet. Additionally, consider if you prefer a tighter fit, more room for your toes, or extra support around your ankle.
Step 5: Pick a pattern or design template
Select a pattern or design template to help guide your DIY slipper-making process. There are plenty of free and paid patterns available online, as well as in crafting books. Ensure that the pattern you choose comes with clear instructions and is suitable for your chosen material and skill level.
Step 6: Add personal touches and customization
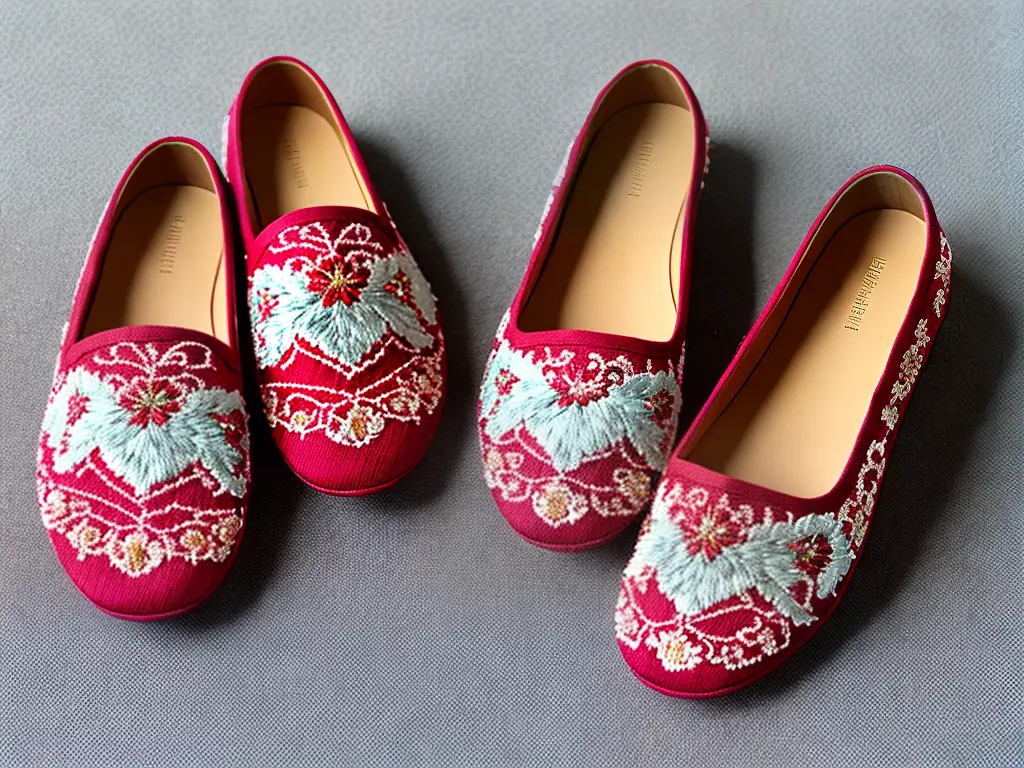
Once you have chosen a slipper design and pattern, consider adding personal touches or customizations to make it unique. This could include embellishments, embroidery, color combinations, or even monograms. Remember to consider the overall comfort and functionality when adding these customizations.
Step 7: Gather materials and tools
Before you start making your DIY slippers, ensure you have all the necessary materials and tools required for your chosen design. This may include scissors, fabric, thread, sewing machine or knitting/crocheting needles, and a pattern or template.
DIY Slipper Making Instructions
Materials Needed:
- Fleece or another soft, comfortable fabric
- Non-slip fabric for the sole (such as a felt, rubber, or an old yoga mat)
- Sewing machine or needle and thread
- Rotary cutter or fabric scissors
- Pins
- Measuring tape
- Pen or fabric chalk
- Ruler or straight edge
- Cardboard or thick paper for making templates
- Optional: ribbon or other decorations
Instructions:
- Measure your feet:
Place your foot on a piece of paper and trace around it, leaving about a 1/2 inch extra for seam allowance. Measure the length and width of your foot to create the bottom of the slipper. - Create pattern templates:
Using your foot measurements, draw the bottom of the slipper onto a piece of cardboard or thick paper. Then, draw the top of the slipper, which should be a rounded shape slightly smaller than the bottom, making sure to leave room for seam allowance. Cut out both templates. - Cut out the fabric:
Using your templates, cut out two bottom pieces and two top pieces from your chosen fabric. Make sure to cut a left and right foot by flipping the template over. Also, cut out two bottom pieces from your non-slip fabric for the soles. - Pin and sew the top and bottom pieces together:
With the right sides of the fabric facing each other, pin the top piece of fabric to the corresponding bottom piece along the curved edge. Sew along this curved edge with a 1/2 inch seam allowance, then trim the seam and turn it right side out. Repeat for the other slipper. - Attach the non-slip sole:
Place the non-slip fabric on a flat surface, then align the sewn slipper pieces on top, ensuring the right sides are facing down. Pin the fabric together, and then sew along the edge of the slipper with a 1/2 inch seam allowance. Trim the excess fabric, then turn the slipper right side out. Repeat for the other slipper. - Optional – Add decorations:
You can add decorative elements such as bows, ribbons, or appliques to personalize your slippers. Sew or glue these embellishments onto the finished slippers. - Try on your new slippers:
Put on your slippers to ensure a comfortable fit. Make any necessary adjustments to the seams, trimming excess fabric as needed.
Once you’ve completed these steps, you’ll have a cozy pair of DIY slippers to wear and enjoy. Add them to your loungewear collection, or give them as a thoughtful handmade gift. With basic cutting and sewing techniques, you can make the slippers in various sizes, fabrics, and styles to suit every member of your household. Happy sewing!
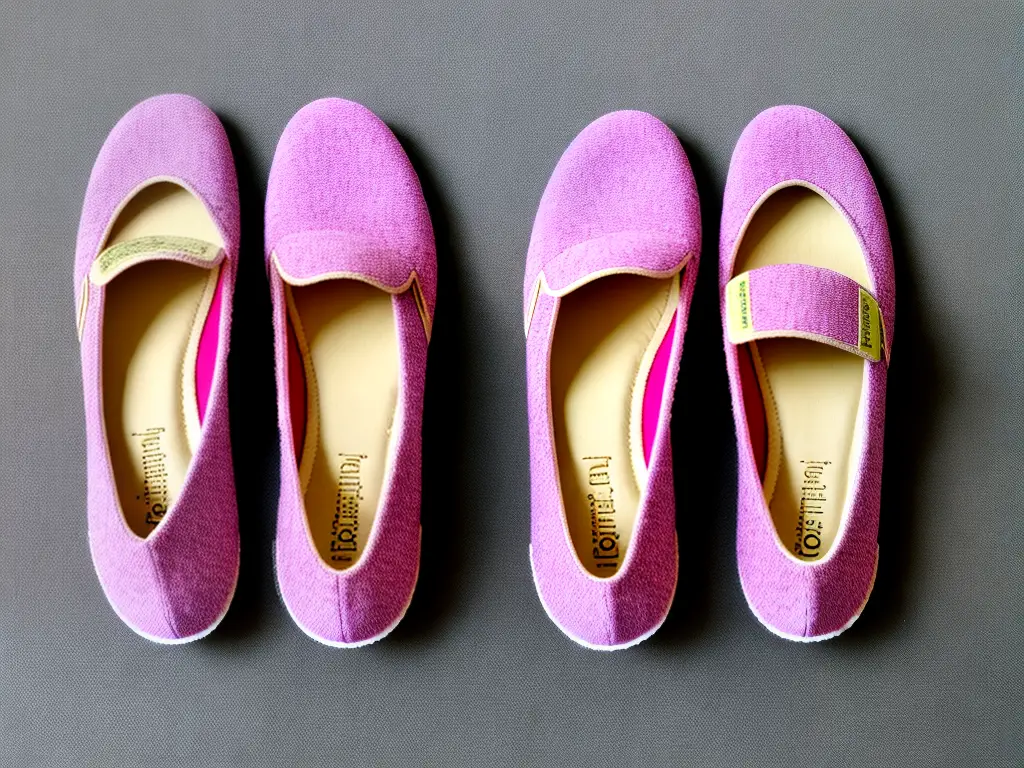
DIY Slipper Making Guide
Creating your own DIY slippers is a fun and rewarding experience. You can customize them to fit your feet perfectly and choose the colors and materials that suit your style.
Materials required:
- Slipper soles: rubber, cork, or craft foam
- Fabric for the upper part (choose a soft, comfortable material such as fleece or felt)
- Padding/stuffing (e.g., foam or cotton batting)
- Fabric adhesive or sewing supplies (thread, needles, pins)
- Scissors
- Pen or fabric marker
- A template or stencil (optional)
- Sewing machine (optional)
Instructions:
- Prepare your slipper template:
- You can either find a slipper template online, or you can create your own by tracing your foot on a piece of cardboard or paper. Add approximately half an inch around the traced foot for seam allowance.
- Cut out your template and use it to trace and cut out two pieces of fabric for each slipper – one for the outside and one for the lining.
- Assemble the upper part of the slipper:
- Place the outside and lining pieces of fabric with the right sides facing each other.
- Using fabric adhesive, apply a thin layer of adhesive along one long edge, leaving a half-inch seam allowance. Alternatively, you can sew along the long edge with a straight stitch, using a half-inch seam allowance.
- Wait for the adhesive to dry, or press the seam open if you’re using a sewing machine.
- Turn the upper fabric right side out, and insert the padding or stuffing evenly between the outside and lining layers.
- Attach the upper fabric to the sole:
- Place the upper fabric on the sole, aligning the back seam with the center of the heel. Ensure that the upper fabric is properly centered on the sole.
- Starting from the center and working your way out to the edges, apply fabric adhesive to the edge of the sole and press the upper fabric onto it. If you prefer sewing, use pins to attach the upper fabric to the sole, and then sew them together using a whipstitch or a similar strong, flexible stitch.
- Work your way around the sole, ensuring that the upper fabric is stretched smoothly and evenly over the sole. Allow the adhesive to dry, or finish sewing and remove the pins.
- Add finishing touches:
- If desired, you can now add any additional embellishments to your slipper, such as bows, buttons, or appliqués.
- Repeat the process above in order to make the other slipper for your matching pair.
Your DIY slippers are now complete! You can now enjoy the comfort and style of your homemade slippers, perfect for relaxing at home or giving as a thoughtful, personalized gift.
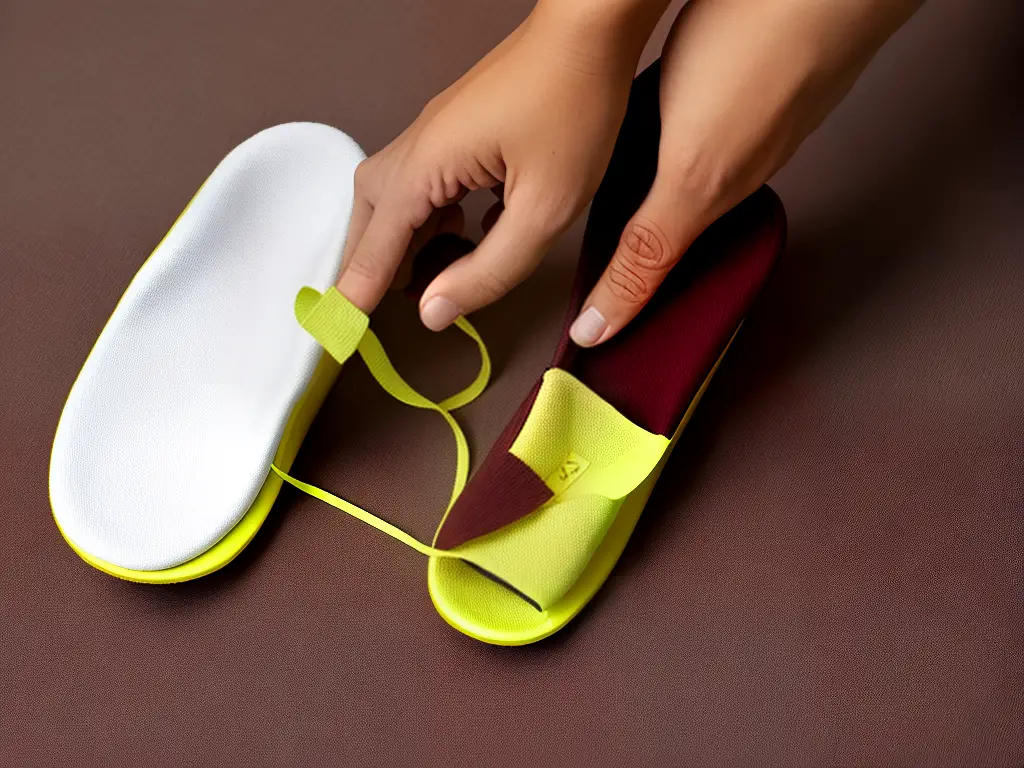
DIY Slippers: Adding Embellishments and Details
Making your own slippers can be a fun and rewarding project. To personalize your slippers and make them unique, you can add decorative elements, such as appliqué, embroidery, or fabric trims. The following instructions will show you how to add these embellishments to your DIY slippers.
Materials:
- DIY slippers
- Fabric scraps for appliqué or fabric trims (ribbon, lace, etc.)
- Thread for embroidery
- Sewing needle
- Scissors
- Pins
- Fabric glue (optional)
- Embroidery hoop (optional)
Instructions:
- Choose your embellishments:
Select the type of embellishments you would like to add to your slippers. You can choose one decoration or use a combination of different embellishments. - Prepare the appliqué (if using):
- Choose a fabric that complements your slippers.
- Cut shapes or designs out of the fabric. You can draw the designs on the fabric first, using a fabric pen or any washable pen, or use a stencil.
- Pin the cutout fabric on the desired location on your slippers.
- Apply fabric trims (if using):
- Measure the length of the fabric trims (such as ribbon or lace) needed to go around the edge of your slippers. Cut the trim accordingly.
- Apply fabric glue to the back of the trim or use pins to keep it in place on the slippers. – Make sure the trim is centered and placed evenly on the slippers.
- Embroidery (if using):
- Select an embroidery design or pattern that you would like to add to your slippers.
- If you are new to embroidery, there are many free online sources with basic techniques and tutorials for beginners.
- Place your slippers in an embroidery hoop (if possible) to keep the fabric taut while you work. This step is optional but can make it easier to work with the fabric.
- Thread your needle with the embroidery thread and follow the design or patter you have chosen, stitching it onto your slippers.
- Attaching the appliqué or trim:
- If you’ve pinned the appliqué or fabric trim in place, now is the time to permanently attach it.
- Thread your needle with a matching or contrasting color, depending on your preference.
- Sew the appliqué or fabric trim onto your slippers using small, even, and secure stitches.
- Finishing touches:
- After adding the desired embellishments, take a moment to check your work and ensure everything is securely attached.
- Remove any visible pins or basting stitches.
- Trim any loose threads.
- Your DIY embellished slippers are complete! Enjoy wearing them or giving them as a thoughtful handmade gift. Remember, the possibilities are endless with the types of decorations and personal touches you can add to your slippers, so have fun experimenting with different designs and techniques.
DIY Slippers: How to Make Your Own
If you’re interested in making your own slippers, follow these simple instructions using materials you likely already have at home:
Materials:
- Two pieces of fabric (fleece, cotton, or any comfortable material)
- A pair of scissors
- Sewing machine or needle and thread
- Pins or fabric clips
- Marker or chalk
- Cardboard or thick paper for making template
- Measuring tape
- Soft, cushioning material for insoles (like foam or quilt batting)
Instructions:
- Trace your feet: Stand on the cardboard or thick paper and trace the outline of both of your feet with a marker or chalk. Ensure you are standing steadily and upright while doing this to get accurate measurements.
- Create a template: Draw an additional 1/2 inch around the traced outline of your feet to allow for seam allowance. Cut out these templates – you should have two separate and matching pieces.
- Cut your fabric: Fold your chosen fabric with the right sides together, and pin the template onto the fabric. Cut along the template, making sure you go through both layers of fabric. In the end, you should have four separate fabric pieces (two for each foot).
- Sew the slippers: Place the two matching fabric pieces with their right sides facing each other. Sew along the traced line using either a sewing machine or a needle and thread, leaving about 1/2 inch for the seam allowance. Don’t forget to leave a gap at the heel, which will allow you to turn the slipper inside out and insert the insole later.
- Turn the slipper right side out: Pull the slipper through the hole in the heel to turn it right side out. Push out any curves, and ensure the seams are well shaped. Repeat this process for the other slipper.
- Create insoles: Using the template you’ve created, cut out insoles from the cushioning material (foam or quilt batting).
- Insert insoles: Insert the insoles through the gap in the heel, ensuring they sit flat within the slippers.
- Close the gap: Sew the opening in the heel closed neatly by hand or using a sewing machine.
- Enjoy your new slippers!
It’s also important to understand how to care for and maintain your DIY slippers to keep them fresh and comfortable for as long as possible. Here are some tips:
Understanding Care and Maintenance:
- Cleaning: To keep your slippers clean and fresh, hand-wash them in cold water with mild detergent. Gently squeeze and release the fabric to clean it, avoiding excessive twisting or wringing. Rinse thoroughly with cold water.
- Drying: After washing, gently press your slippers between two towels to remove excess water, then lay them flat in a well-ventilated area to air dry. Avoid placing them in direct sunlight or using a dryer, as doing so may cause fabric shrinkage or damage.
- Insole replacement: Over time, the insoles may lose their cushioning or wear out. To maintain the comfort of your slippers, replace the insoles as needed. Simply remove the old insoles, and follow the steps above to create new ones using your template.
- Repairing any damage: If your handmade slippers experience tears or holes, promptly repair them using a needle and thread to prevent further damage. You can also reinforce seams if they begin to loosen over time.
By following these care and maintenance tips, your DIY slippers will stay comfortable, clean, and durable for a long time. Enjoy the cozy feeling of your homemade slippers while knowing you’ve created them yourself!
DIY Slippers: How to Make Your Own
Making your own pair of slippers can be fun and rewarding. Here’s how you can do it:
Materials:
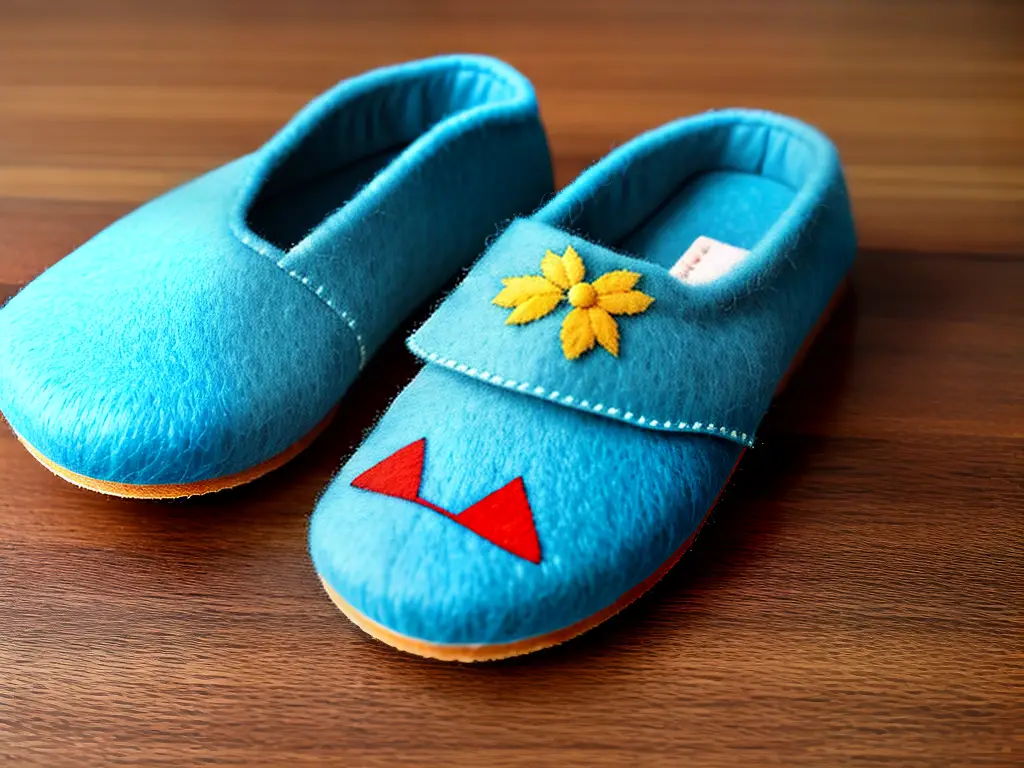
- Felt, fleece, or fabric of your choice
- Sewing needle and thread
- Scissors
- Pins
- Measuring tape
- Pen or fabric marker
- Cardstock or paper for making a pattern
- Optional: cushioning foam or padding, non-slip material or nonslip fabric paint, embellishments
Instructions:
- Measure your foot: Using the measuring tape, measure the length and width of your foot. Add 1 inch to both measurements for seam allowance and comfort. Write down these measurements.
- Create a pattern: Draw three rectangles on the cardstock or paper. The first rectangle should be the length and width of your foot (including the additional 1 inch). The second rectangle should be the length of your foot and half the width of your foot. The third rectangle should be half the width of your foot and half the length of your foot.
- Cut out your pattern pieces: Carefully cut out the three rectangles from the paper. These will be your pattern pieces for the slipper top, side, and heel.
- Pin the pattern pieces to your fabric: Lay out your fabric, fold it in half (with the right sides together), and pin the pattern pieces to it. This ensures that you’ll have mirrored pieces for each slipper.
- Cut out the fabric pieces: Using sharp scissors, carefully cut around the pattern pieces to create two of each fabric piece (top, side, and heel).
- Assemble the slippers: Take one side piece and one heel piece, and align them along the long edge. Sew them together, using a 1/2-inch seam allowance. Repeat this step for the second side and heel piece.
- Attach the top piece: Lay one top piece next to one of the assembled side/heel pieces, aligning the edges. Sew along the edge, attaching the top piece to the side/heel piece with a 1/2-inch seam allowance. Repeat this step for the second slipper.
- Sew the slippers together: With the right sides of the fabric together, sew the two half circles (from the heel piece) together, using a 1/2-inch seam allowance. Turn the slipper right side out.
- Optional: Add cushioning and non-slip material or fabric paint to the bottom of the slipper for extra comfort and safety.
- Add any desired embellishments, such as buttons or embroidery.
Troubleshooting and Adjustments:
- Uneven seams: If your seams are uneven, use a seam ripper to carefully remove the stitching and align the edges again. Pin the pieces together to ensure accurate alignment, and sew the seam again.
- Size adjustments: If the slipper size is too small, you can add additional fabric by sewing panels to the side and heel pieces, or enlarge the pattern pieces and recut the fabric to create a larger slipper. If the slipper is too big, you can take in the seams by sewing just inside of the original seam line.
Remember, it may take a few attempts to perfect the fit and customization of your slippers. Be patient with yourself and practice – soon, you’ll have cozy and comfortable DIY slippers that are just right for you!
DIY Slippers: How to Make Your Own
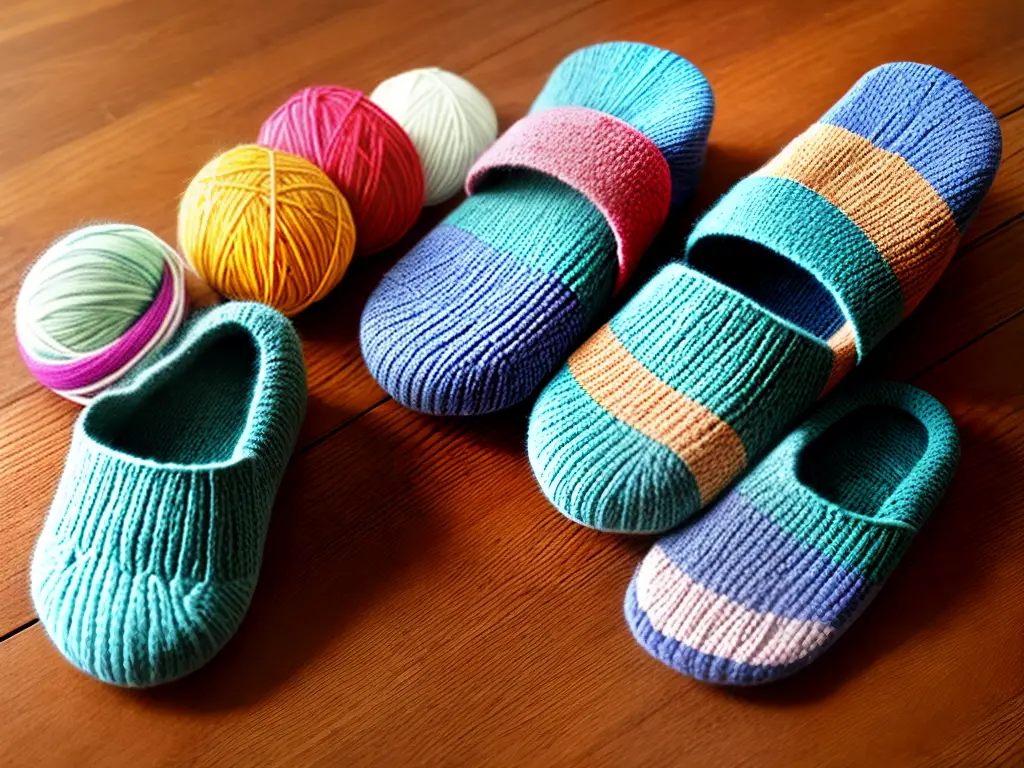
Knitting and crocheting are excellent methods for creating sturdy and warm slippers. In this guide, we will provide you with step-by-step instructions for knitting and crocheting your own slippers. By the end of this tutorial, you’ll have gained valuable skills that will help you create custom-designed, cozy slippers for yourself or as a thoughtful gift to others.
Knitted Slippers:
- Yarn of your choice (wool or acrylic work well)
- Knitting needles (size recommended for your chosen yarn)
- Darning needle or crochet hook for sewing seams
- Stitch markers
- Measuring tape
- Choose your slipper size: Measure your foot’s length, and choose the size accordingly (e.g., small, medium, or large).
- Cast on: Look up the suggested number of stitches for your slipper size and desired width. Cast on this number of stitches, leaving a long tail for sewing the toe seam later.
- Knit the toe: Knit the first row. In the second row, knit the first two stitches together, knit until the last two stitches, and then knit these two stitches together. This will decrease the number of stitches by 2.
- Knit the foot: Continue knitting in stockinette stitch (knit one row, purl one row) until your slipper’s foot length, minus the heel, is achieved.
- Shape the instep: Knit across the first half of the stitches, then turn and work back across these stitches only to create a flap for the instep.
- Knit the instep flap: Work in stockinette stitch for the desired length of the instep (usually 20-25 rows).
- Attach the instep flap: Pick up stitches along the edge of the instep flap and knit them together with the remaining stitches of the row.
- Knit the heel: Continue in stockinette stitch, decreasing the stitches on each side, until the desired heel size is achieved.
- Bind off: Bind off all stitches, leaving a long tail for sewing the heel seam.
- Sew the slipper: Using the darning needle or crochet hook, sew the heel and toe seams closed.
- Optional: Add a non-slip surface to the bottom by using fabric puffy paint or attaching non-slip fabric with a fabric adhesive.
Crocheted Slippers:
- Yarn of your choice (wool or acrylic work well)
- Crochet hook (size recommended for your chosen yarn)
- Darning needle or crochet hook for sewing seams
- Stitch markers
- Measuring tape
- Choose your slipper size: Measure your foot’s length, and choose the size accordingly (e.g., small, medium, or large).
- Create the toe: Start with a slipknot and chain the number of stitches needed for your slipper size. Join the chain with a slip stitch.
- Create the foot: Work in rounds, using single crochet stitches, until the slipper’s foot length, minus the heel, is achieved. Add stitch markers to mark the first stitch of each round.
- Create the heel opening: Skip the number of stitches needed for the heel opening, and then continue to crochet in a spiral to form the heel.
- Create the heel: Once your slipper reaches the back of your foot, start crocheting in rows instead of rounds to form the heel.
- Decrease for the heel shape: At the beginning and end of each row, decrease by one stitch until the desired heel shape is achieved.
- Sew the heel: Fold the heel in half and sew the edges together using a slip stitch and a darning needle or crochet hook.
- Create the cuff: Work in the round, using single crochet stitches to create a cuff around the slipper’s opening.
- Finish the slipper: Fasten off and weave in any remaining ends.
- Optional: Add a non-slip surface to the bottom by using fabric puffy paint or attaching non-slip fabric with a fabric adhesive.
Congratulations, you have now learned how to create your own knitted or crocheted slippers! Experiment with different yarn types, colors, and stitch patterns to create a personalized, cozy pair of slippers perfect for everyday use or as a thoughtful gift.
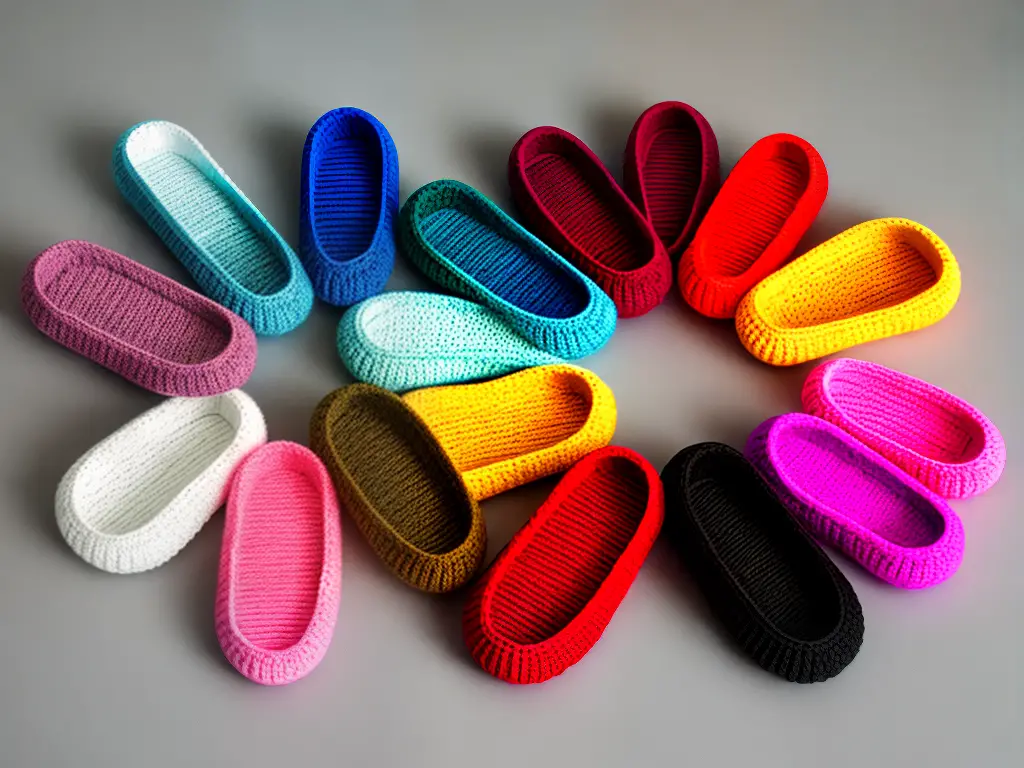
With your newfound knowledge and skills, you can confidently create your own cozy slippers tailored to your preferences and needs. Embrace the personal touch that comes with crafting your own footwear, and enjoy the comfort and warmth that only homemade slippers can provide. Who knows? You might even find yourself inspired to explore further DIY projects and up your slipper game with advanced techniques like knitting or crocheting.