Welcome to the colorful and creative world of Fruit Loops-inspired crafts for kids! Engage your child’s imagination and fine motor skills with a variety of activities that incorporate the vibrant colors and textures of Fruit Loops cereal. From making edible necklaces to designing unique holiday ornaments, there is something for everyone in this exciting collection of Fruit Loops crafts.
Fruit Loops-Inspired Crafts for Kids
Fruit Loops-inspired crafts are an excellent way to make use of the vibrant colors and shapes that the cereal provides. This activity is perfect for children, as it helps develop their creativity, fine motor skills, and hand-eye coordination. Before getting started, make sure to gather the following supplies and materials:
- Fruit Loops cereal: You will need a box of Fruit Loops cereal or any similar colorful, ring-shaped cereal. The more colors you have, the better!
- String or yarn: Choose a durable and flexible type of string or yarn that is easy for children to thread. You can use different colors to complement the colorful cereal.
- Glue: Regular white school glue or a glue stick works well for these crafts since they adhere quickly and dry clear.
- Construction paper or cardstock: To create a strong and sturdy base for your crafts, use either construction paper or cardstock. You can find these in various colors to add more vibrancy to your projects.
- Scissors: Have a pair of child-safe scissors available for any cutting tasks that may be needed during the crafting process.
- Hole punch: This tool is useful for creating small holes in the paper, allowing you to thread the string or yarn through.
- Googly eyes or other embellishments: These small decorative items can be used to add personality and charm to your Fruit Loops-inspired crafts.
- Paint, markers or colored pencils: To enhance your crafts, you may opt to include other coloring tools to supplement the Fruit Loops’ colors.
- Clear tape or masking tape: This will be helpful in securing the ends of the string or yarn, particularly when making crafts that require looping or knotting.
Now that you have all your supplies and materials in place, it’s time to get started on your Fruit Loops-inspired crafts! Here are some ideas and instructions for fun projects you can create with your kids:
- Fruit Loops Necklace or Bracelet: Start by cutting a length of string or yarn long enough to make a necklace or bracelet. Tape one end of the string to prevent the cereal from slipping off while threading. Allow the child to thread the Fruit Loops onto the string, creating a colorful pattern. Once completed, tie the two ends of the string together and trim any excess.
- Fruit Loops Rainbow: Cut a semi-circle shape from the construction paper or cardstock, then use the glue to adhere Fruit Loops onto the paper in the form of a rainbow. Allow the child to layer the cereal in rows, following the colors of a rainbow. They can also add cotton balls to represent clouds on either end of the rainbow.
- Fruit Loops Picture Frame: Start by cutting a rectangle shape from the construction paper or cardstock, then cutting out a smaller rectangle in the center to create a frame. Allow the child to glue Fruit Loops around the frame’s edges in a creative pattern. Once dry, you can insert a photo or your child’s artwork into the frame.
- Fruit Loops Bird Feeder: Cut a long piece of string or yarn and allow the child to thread Fruit Loops onto the string until it’s almost full. Tie the two ends of the string together, forming a loop, and hang it outside on a tree branch for the birds to enjoy.
The possibilities are endless when it comes to Fruit Loops-inspired crafts, so let your imagination run wild and have fun creating with your kids!
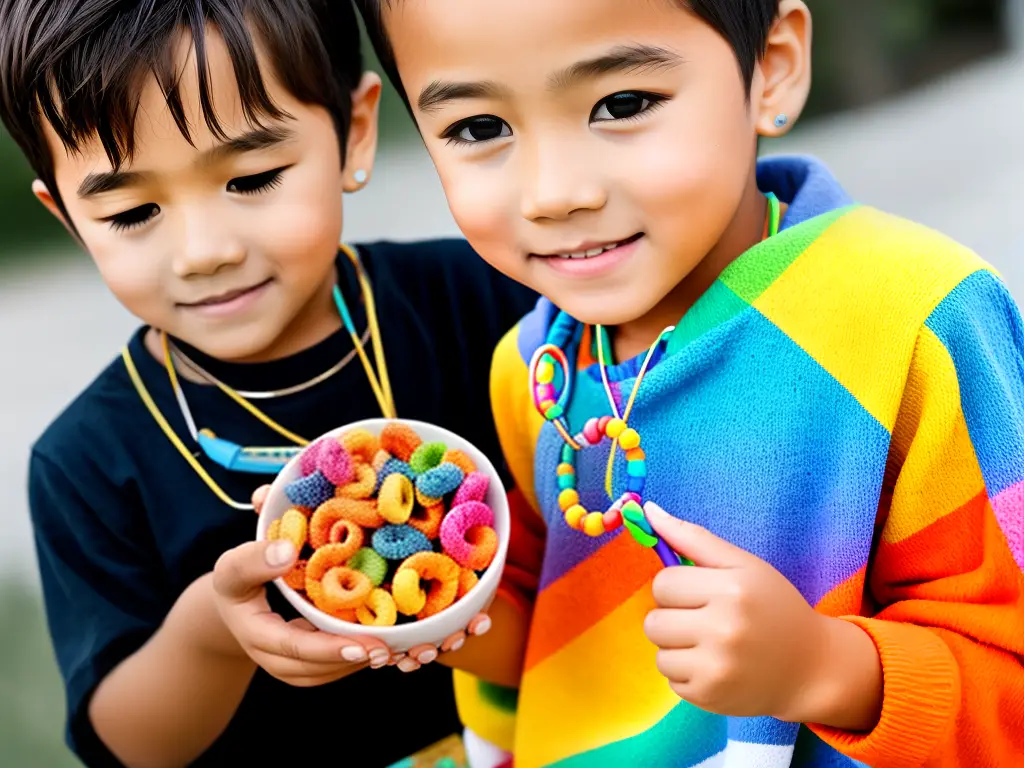
Fruit Loops Necklace Instructions
Learn how to make a colorful and edible necklace using Fruit Loops and a piece of string.
Materials Needed:
- Fruit Loops cereal (or any similar colorful, holed cereal)
- String or cord (elastic, yarn, or dental floss)
- Scissors
- Tape (optional)
- A clean working surface
Instructions:
- Gather all the materials and lay them out on a clean working surface.
- Measure and cut the string or cord to the desired length for the necklace. It is a good idea to add a few extra inches to the length to make tying the necklace easier. If you are using elastic string, make sure to stretch it before cutting to avoid a necklace that is too tight.
- If using a tape, wrap one end of the string or cord with a small piece of tape. This will create a needle-like tip that makes threading the Fruit Loops easier for kids. (skip this step if working with dental floss)
- Place a knot at the end of the string or cord without the tape. This will prevent the Fruit Loops from sliding off the string as the children start threading them.
- Show the kids how to thread the Fruit Loops onto the string or cord. Demonstrate by holding the end of the string with the tape and pushing it through the center hole of the cereal piece. Then, slide the cereal down the string until it reaches the knot.
- Encourage the kids to create their own colorful patterns by adding different colored Fruit Loops to their strings.
- Once the necklace has reached the desired length, help the kids remove the tape from the end of the string, and secure the necklace by tying the two ends of the string or cord together in a tight double knot. Ensure the knot is secure, leaving some room for the necklace to be easily placed over the head.
- Trim any excess string from the knot, but make sure not to cut too close to the knot so the necklace won’t come apart.
- Your Fruit Loops necklace is now complete! Encourage the children to wear their creations and enjoy their tasty, colorful, and edible jewelry.
Note: Remind children to wash their hands before and after playing with the necklace to keep it clean. The Fruit Loops necklace should not be worn for an extended period to keep it from getting dirty or damaged.
Fruit Loops Rainbow Craft Instructions
Materials Needed:
- Fruit Loops cereal
- White paper plate
- White school glue
- Scissors
- Pencil
- Optional: Cotton balls, pipe cleaners, or other craft decorations
Instructions:
- Prepare your workspace: Lay down some newspaper or a disposable tablecloth to catch any stray Fruit Loops and protect your table or counter from glue.
- Cut the paper plate: To create the perfect base for your rainbow, take a paper plate and cut it in half with scissors. Each half of the plate will become the base for one Fruit Loops rainbow craft.
- Plan your rainbow: Lightly draw an arc-shaped line with a pencil on the curved edge of the paper plate to create a guideline for placing the cereal. It’s important to leave some space between the lines of the arc since this is where the different colors of the rainbow will go. You can make as many arcs as you like, depending on how many layers/colors you want in your Fruit Loops rainbow.
- Sort the Fruit Loops: In order to create a beautiful and colorful rainbow, separate the Fruit Loops into different bowls based on their colors (i.e., red, orange, yellow, green, blue, and purple). This is a great opportunity for children to practice their color recognition and sorting skills.
- Glue the Fruit Loops: Starting with the first color of your rainbow (traditionally red), apply a thin layer of glue along the pencil guideline. Then, carefully place the Fruit Loops onto the glue so they create a curve along the line. Repeat this process for each color of the rainbow, making sure to follow the order of the colors (red, orange, yellow, green, blue, and purple).
- Create clouds (optional): If desired, add some cotton balls or white pipe cleaners at the base of each side of the rainbow for a fluffy cloud effect. You can also use other craft supplies like buttons, beads, or sequins to decorate the clouds.
- Allow the craft to dry: Let the Fruit Loops Rainbow Craft sit in a safe place for a few hours, or until the glue has dried completely. This will ensure that everything is securely attached and the rainbow keeps its shape.
- Display your Fruit Loops Rainbow Craft: Once it’s dry, hang your creation on the wall, display it on a shelf, or give it as a unique, handmade gift! Enjoy your colorful and edible-looking work of art.
Create a Fruit Loops Bird Feeder
Get ready to create a fun and easy bird feeder for your feathered friends with Fruit Loops! Follow these simple instructions:
Materials needed:
- Fruit Loops cereal
- Pipe cleaners
- String or ribbon for hanging
Instructions:
- Gather your materials: Lay out your Fruit Loops, pipe cleaners, and string or ribbon on a clean workspace.
- Prepare your pipe cleaners: Choose a pipe cleaner and fold it in half. Twist the folded end to create a small loop. This loop will be used later to attach the string or ribbon for hanging.
- Thread the Fruit Loops: Starting at the twisted end, thread the Fruit Loops onto the pipe cleaner. Be sure to hold the pipe cleaner firmly to prevent the Fruit Loops from slipping off.
- Keep adding Fruit Loops: Continue threading the Fruit Loops until your pipe cleaner is almost full. Leave some space at the end to create another loop.
- Close the bird feeder: When your pipe cleaner is almost full, twist the open end to create another small loop. Then, connect the two loops by twisting the two ends of the pipe cleaner together. This creates a circle shape, which is the base of the bird feeder.
- Pick a design (optional): If you want, you can create fun designs or shapes with your Fruit Loops bird feeder. For example, you can bend the pipe cleaner into a heart, star, or even a letter! Be creative and use your imagination.
- Attach the string or ribbon: Cut a piece of string or ribbon that is long enough to hang your bird feeder. Thread the string or ribbon through the loop at the top of the bird feeder and tie a knot to secure it in place.
- Hang your bird feeder: Find a spot outside where you’d like to hang your bird feeder—preferably near a tree or bush. Make sure that the spot is safe for birds and that the bird feeder is easily accessible for them to snack on the Fruit Loops.
- Watch and enjoy: Sit back and observe the birds that come to feast on your Fruit Loops bird feeder. Enjoy the beauty of nature and the satisfaction of knowing you provided food for your feathered friends.
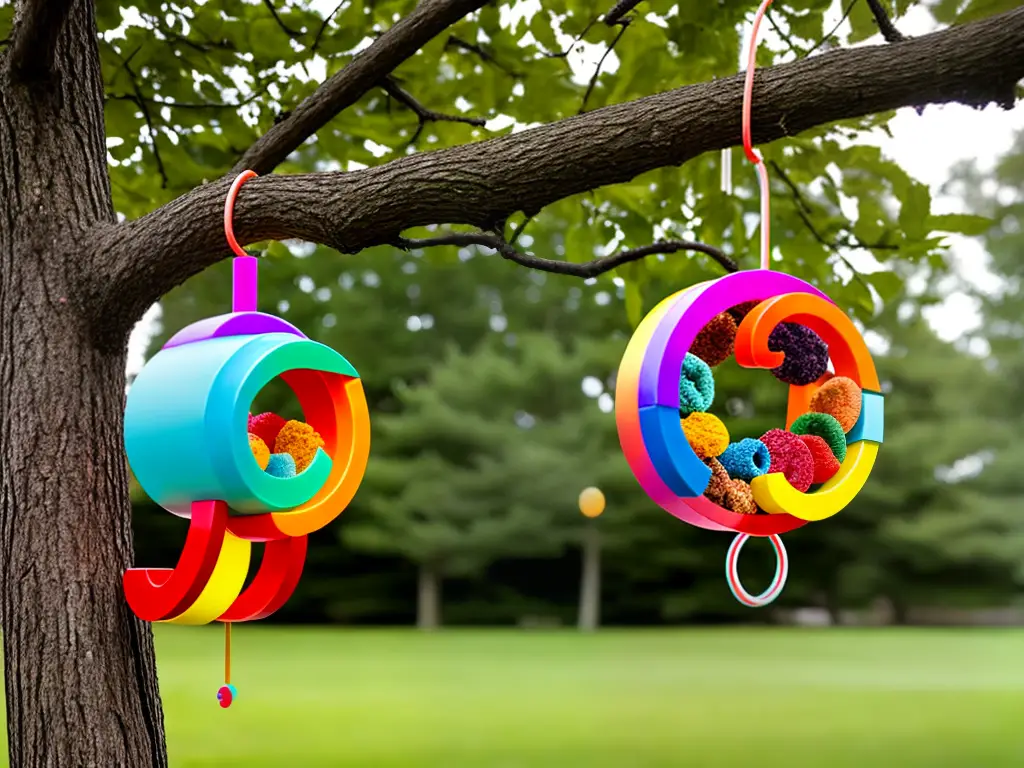
How to Make Fruit Loops Christmas Ornaments
Making Fruit Loops Christmas ornaments is a fun and easy activity perfect for children of all ages. These colorful and festive ornaments can add a pop of color to any Christmas tree, and are a great way to help children practice their fine motor skills. Follow these simple steps to make your own Fruit Loop ornaments!
Materials:
- Fruit Loops cereal
- String, yarn, or pipe cleaners
- Scissors
- Clear tape (optional)
- Ribbon (optional)
Instructions:
-
Choose your base: Decide on a base for your ornament. String or yarn works best for round ornaments, while pipe cleaners are great for shaped ornaments that can be bent and molded.
-
Measure and cut: If using string or yarn, decide on the length you want your ornament to be and cut the string or yarn to that length. If using pipe cleaners, you can twist multiple pipe cleaners together to create unique shapes.
(Optional) If using string or yarn and your children will find it difficult to thread the Fruit Loops onto the string, add a small piece of clear tape to the end of the string, folding it back onto itself, to make it stiff like a needle.
-
Thread the Fruit Loops: Begin threading the Fruit Loops onto your chosen base. Encourage your child to create patterns or color combinations with the cereal pieces as they work; it’s an excellent opportunity for children to practice their fine motor skills and hand-eye coordination.
-
Secure the ends: For string or yarn, once the desired number of Fruit Loops have been threaded, tie the two ends together in a secure knot to create a loop for hanging. If using pipe cleaners, twist the ends together and shape the end into a hook, or bend it back on itself.
-
Add a finishing touch: Tie a ribbon or bow to the top of the ornament for an extra festive touch.
-
Hang your ornament: Your Fruit Loops Christmas ornament is now ready to be displayed on your Christmas tree or around your home to add a colorful and fun holiday decoration to your home!
Reminder: While these ornaments are made from edible material, keep in mind that they may become fragile or attract bugs over time. It’s a good idea to make fresh ornaments each year to ensure they remain in good condition.
Fruit Loops Picture Frame Craft
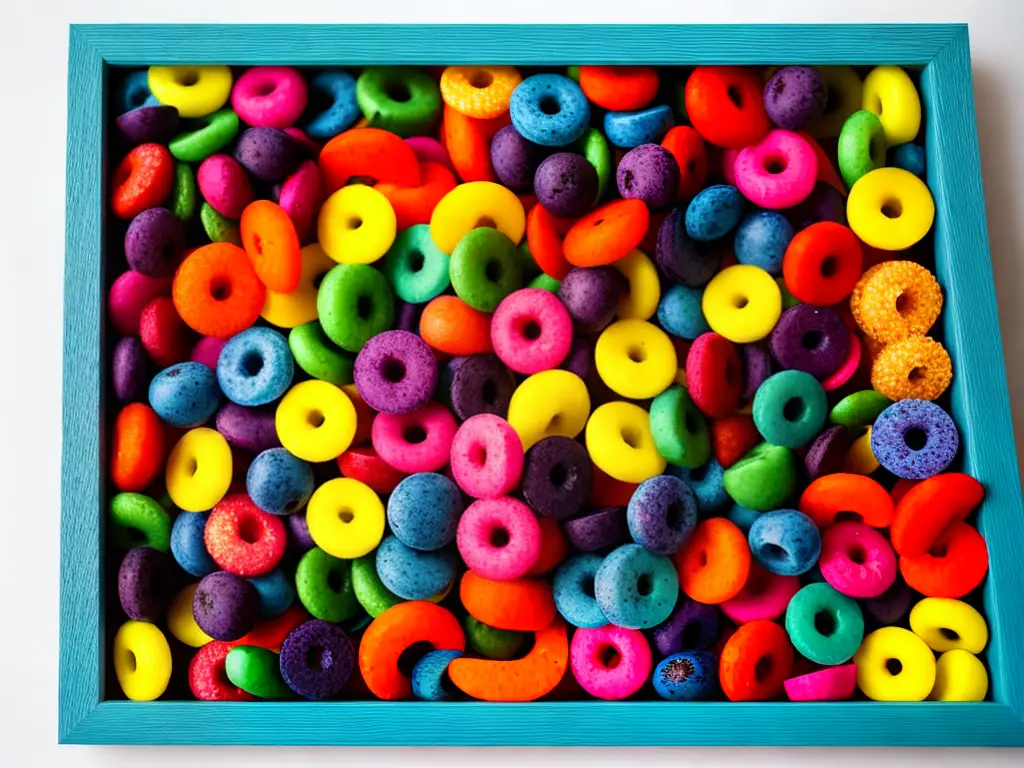
This craft is a fun and colorful way to create a picture frame that is unique to your style. With a few materials and some imagination, you can turn a plain wooden frame into a Fruit Loops masterpiece that will be a wonderful addition to your home decor. Here are the steps to follow:
Materials:
- Plain wooden picture frame (any size will work)
- Fruit Loops cereal (a box of assorted colors)
- White craft glue or school glue
- Paintbrush
- Wax paper
- Clear sealant spray (optional)
Instructions:
- Prepare the workspace: Lay down wax paper on your work surface to avoid any glue or mess on your table.
- Plan your design: Before you start gluing, plan the design you want to create on the frame. You can create patterns with colors or shapes, or simply glue the Fruit Loops randomly for a fun and colorful effect.
- Apply glue to frame: Using a paintbrush, apply a thin layer of white craft glue to a small section of the wooden frame where you want to place the Fruit Loops. Be sure not to cover the entire frame with glue all at once, as it may dry before you can adhere the cereal.
- Attach Fruit Loops: Press the Fruit Loops onto the glued area of the frame, following your planned design or simply placing them randomly. You can press the cereal flat onto the frame or use the hole in the center to create interesting patterns and texture. Continue applying glue in small sections and attaching Fruit Loops until the entire frame is covered.
- Allow to dry: Once you have finished your design, let the frame dry for at least 24 hours. Make sure the Fruit Loops are securely glued before moving the frame to avoid any falling off.
- Optional – Apply clear sealant: For added protection, you can choose to spray the frame with a clear sealant after it has dried. This will give it a glossy finish and help to keep the cereal in place. Make sure you do this step in a well-ventilated area and follow the manufacturer’s instructions on the sealant.
- Insert your favorite photo or artwork: After the frame is completely dry and decorated, insert your favorite picture or artwork and enjoy your one-of-a-kind Fruit Loops masterpiece! This frame will not only be a beautiful addition to your home, but it will also serve as a fun and memorable craft experience for you and your kids.
Fruit Loops Color Sorting Activity
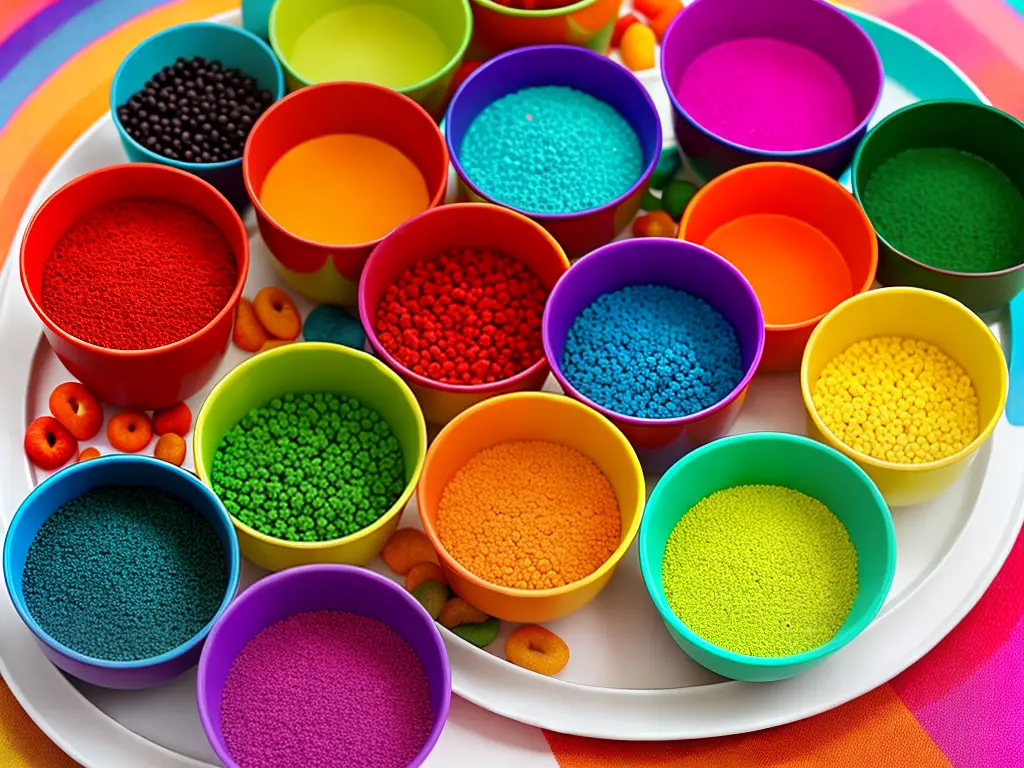
This fun and educational activity will help young children develop color recognition and fine motor skills while sorting and stringing Fruit Loops by color.
Materials:
- Fruit Loops cereal (or similar colorful cereal)
- Small cups or bowls for sorting (one for each color)
- String or yarn
- Masking tape (optional)
- A large tray or placemat (optional)
Instructions:
-
Prepare the materials: Gather all the materials needed for the activity. Cut a length of string or yarn (about 30 inches or 76 cm) for each child participating in the activity.
-
Setup: Place the small cups or bowls on the tray or placemat. For young children who are still learning colors, you might want to place a colored Fruit Loop of each color at the bottom of its corresponding cup to guide them in sorting.
-
Sorting: Pour a generous amount of Fruit Loops on the tray or placemat, spreading them out for easy access. Encourage the children to begin sorting the cereal pieces by color, placing each color in its matching cup. Guide them as needed but let them explore and learn at their own pace.
-
Stringing: Once the Fruit Loops are sorted by color, provide each child with a pre-cut piece of string or yarn. To make it easier to string the cereal, wrap a small piece of masking tape around one end of the string to create a needle-like point.
-
Color patterns: Before they start stringing the Fruit Loops, ask the children to create a pattern by choosing the order of colors they want to use. For example, they can create a simple pattern like “red, blue, green” or a more complex pattern by incorporating multiple colors or repeating sequences.
-
String the Fruit Loops: Show the children how to push the taped end of the string through the hole of a Fruit Loop piece and slide it down to the other end. Encourage them to follow their chosen color pattern as they continue stringing the Fruit Loops.
-
Continue stringing: Allow the children to string as many Fruit Loops as they like, leaving enough string at both ends for tying. Offer assistance and guidance as needed.
-
Finishing touches: Once the children have finished stringing their Fruit Loops, help them tie the two ends of the string together to create a loop. This can be used as a colorful necklace or a decorative hanging ornament.
-
Cleanup and reflection: Have the children help with cleaning their workspace and gather any unused materials. Engage them in a conversation about their experience during the activity, asking what they learned, and if they enjoyed it.
Fruit Loops Play-Dough Recipe
Creating your own Fruit Loops play-dough offers a fun and unique sensory experience for kids. The play-dough will have a distinct texture, color, and even a fruity scent due to the inclusion of Fruit Loops. Follow these simple instructions to make your Fruit Loops play-dough:
Ingredients:
- 2 cups all-purpose flour
- 1/2 cup table salt
- 2 tablespoons cream of tartar
- 2 tablespoons vegetable oil
- 1 1/4 cups boiling water
- 1 cup Fruit Loops (You may choose a specific color or use a mixture of colors)
- Food coloring (Optional for added vibrant colors)
- A mixing bowl
- A large spoon or spatula
- A blender or food processor
Instructions:
- Prepare Fruit Loops: Take 1 cup of Fruit Loops and crush them in a blender or food processor until you have a fine powder. Set aside.
- Prepare Dry Ingredients: In a large mixing bowl, combine the 2 cups of all-purpose flour, 1/2 cup of table salt, and 2 tablespoons of cream of tartar. Mix all of these ingredients together until evenly combined.
- Mix Fruit Loops Powder: Add the crushed Fruit Loops to the dry ingredients mixture. Stir until the Fruit Loops powder is evenly distributed in the mixture. This will add the texture, color, and fruit scent to your play-dough.
- Add Wet Ingredients: Pour 2 tablespoons of vegetable oil into the mixture. If you want more vibrant colors, you can add a few drops of food coloring before adding the boiling water. Slowly pour in the 1 1/4 cups of boiling water into the mixture as you continuously stir. Make sure all the ingredients are combined well, forming a dough-like consistency.
- Knead and Cool: Once the dough is formed, remove it from the mixing bowl and place it on a clean surface. Allow the dough to cool down for a few minutes until it’s safe to touch. Knead the dough for about 5 minutes to improve its consistency and elasticity. If the dough is too sticky, add a small amount of flour while kneading.
- Ready to Use and Store: Your Fruit Loops play-dough is now ready for fun and crafting! Shape, mold, and play with it as desired. Store the play-dough in an airtight container when not in use to keep it fresh and pliable.
Creating a Fruit Loops Sensory Bin for Kids
Creating a Fruit Loops sensory bin is a fun and engaging activity that encourages little ones to explore various colors, textures, and materials.
Materials:
- A large plastic bin or container with a lid
- Fruit Loops cereal
- Measuring cups and spoons
- Plastic cups or small bowls
- Tongs or tweezers for grasping
- Funnel
- Large plastic spoon or scoop
- Additional tactile items (optional): small toys, pom poms, cotton balls, or colored rice
Instructions:
- Gather all needed materials as listed above.
- Begin by pouring a generous amount of Fruit Loops into the large plastic bin or container. The amount can vary depending on how large your container is, but a few cups should suffice to start.
- Arrange the measuring cups, spoons, plastic cups or bowls, tongs, and funnel near the bin. These will be used to encourage the children to scoop, pour, and transfer the Fruit Loops.
- If using additional tactile items, distribute them evenly among the Fruit Loops. Be sure that all the items are safe for young children to play with and avoid using any items that may pose a choking hazard.
- Encourage the children to explore the Fruit Loops and additional items in the sensory bin. They can use the measuring tools and other items to scoop, pour, and grasp the materials. This will help develop their fine motor skills and teach them about different textures as well as colors.
- While playing, you can also engage the children in conversation or ask questions about the materials in the bin, such as the colors, textures, and shapes. This will help improve their language and cognitive skills.
- Always supervise the children when playing with the sensory bin to ensure they are safe and not putting any items in their mouths.
- Once playtime is over, store the Fruit Loops sensory bin with a tight lid to keep the cereal fresh and ready for future play. Be sure to check the bin regularly for any signs of spoilage or stale cereal, and replace as needed.
Now you have a fun and engaging Fruit Loops sensory bin for kids to enjoy exploring. Encourage them to use their imagination and creativity while playing with this colorful, tactile sensory experience.
Fruit Loops Math Activities
Activity 1: Fruit Loops Counting
- Materials needed:
- Fruit Loops
- Paper or printable counting sheet
- Pencil or marker
- Instructions:
- Prepare a sheet of paper or a printable counting sheet with numbers from 1 to 10 written on it.
- Ask the child to pick a number from the sheet.
- Instruct the child to count out the appropriate number of Fruit Loops and place them next to the corresponding number on the sheet.
- Repeat this process for all the numbers on the sheet. Encourage the child to double-check their counting for accuracy.
- Materials needed:
- Fruit Loops
- Paper or printable addition sheet
- Pencil or marker
- Instructions:
- Prepare a sheet of paper or a printable addition sheet with simple addition problems (e.g., 2+3, 4+1) written on it.
- Ask the child to pick an addition problem from the sheet.
- Instruct the child to count out the appropriate number of Fruit Loops for the first number of the problem and place them on the left side of the problem.
- Then, have the child count out the appropriate number of Fruit Loops for the second number of the problem and place them on the right side of the problem.
- Ask the child to combine the two groups of Fruit Loops together and count the total number of Fruit Loops.
- Write the answer next to the addition problem on the sheet.
- Repeat this process for all addition problems on the sheet.
- Materials needed:
- Fruit Loops
- Paper or printable pattern sheet
- Pencil or marker
- Instructions:
- Prepare a sheet of paper or a printable pattern sheet with simple color patterns (e.g., red-green-red-green).
- Ask the child to choose a color pattern from the sheet.
- Instruct the child to use the Fruit Loops to recreate the chosen color pattern on the table or a flat surface.
- Encourage the child to continue the pattern by adding more Fruit Loops to extend the pattern as far as they would like.
- Repeat this process for the other patterns on the sheet.
- Challenge the child to create their own color patterns using the Fruit Loops, and then write down the pattern sequence on the sheet.
- Fruit Loops cereal (variety of colors)
- A couple of small bowls or containers
- A mortar and pestle or plastic bag and rolling pin
- Water
- Paintbrushes
- Paper or canvas
- Spoon or Popsicle stick for mixing
- Begin by sorting the Fruit Loops by color. Place each color in a separate bowl or container. This is a great opportunity for younger children to practice their color recognition and sorting skills.
- Once the Fruit Loops are sorted, it’s time to crush them into a fine powder. You can use a mortar and pestle or place the cereal in a plastic bag and use a rolling pin to crush them. Make sure to crush each color separately. The goal is to create a fine powder, similar to the consistency of flour or powdered sugar.
- After crushing the cereal, mix the powder with water in the bowl or container. Start with a small amount of water and gradually add more until you reach your desired consistency. The mixture should be thick enough to spread like paint but not too watery. You may need to experiment with the ratio of water to cereal powder to find the perfect consistency for painting. Use a spoon or Popsicle stick to mix the water and cereal powder together.
- Now that you have your Fruit Loops paint, it’s time to get creative! Set out your paper or canvas and use the paintbrushes to paint designs, patterns, or pictures. The cereal paint will create a unique texture on your artwork, and the colors will be fun and vibrant.
- Allow your Fruit Loops painting to dry completely. Once dry, you can display your work of art for everyone to enjoy!
- If you find that the crushed Fruit Loops are not creating a fine enough powder to mix well with water, you can try using a food processor or blender to create a finer powder.
- If you want to create more vibrant colors, consider using food coloring in addition to the crushed cereal. Simply mix a few drops of food coloring into the water before adding it to the cereal powder.
- You can also experiment with using different types of cereal to see how the texture and colors vary. Fruit Loops have a variety of bright colors, but other colorful cereals will work as well.
- This activity is a fun and easy way to explore the concept of using non-traditional materials for art projects. Encourage kids to experiment and try new techniques as they paint with their Fruit Loops medium.
- Supervise the children at all times: Always make sure an adult is present to supervise the activity and provide guidance, as children may be prone to putting small items like Fruit Loops in their mouths, noses, or ears.
- Check for allergies: Before starting the activity, ensure that none of the children participating have any food allergies or dietary restrictions related to the materials being used, such as gluten or artificial coloring.
- Choose age-appropriate crafts: Select crafts that are suitable for the children’s age and skill level. For younger children, avoid crafts that involve the use of sharp objects or complicated techniques. Aim for simple crafts that involve threading or sticking the Fruit Loops in patterns or shapes.
- Clean hands and surfaces: Ensure that all participants wash their hands thoroughly with soap and water before starting the activity. Clean and sanitize the work surfaces as well.
- Use clean and food-safe materials: Ensure that all materials used for the crafts, such as paper, glue, or string, are clean and safe for contact with food.
- Avoid cross-contamination: If the children will be eating the Fruit Loops during or after the activity, provide separate bowls or containers for each child to prevent cross-contamination.
- Teach proper eating etiquette: Remind children not to eat the Fruit Loops while they are still working on their craft projects, as this could introduce germs and bacteria to their creations.
- Pay attention to choking hazards: Be cautious with small children who may be prone to putting the items in their mouths. Ensure they understand that the Fruit Loops should only be eaten when it is time to do so and not during the crafting process.
- Establish clear guidelines: Provide clear instructions on what is allowed and not allowed during the activity. Make sure children understand the difference between the crafting materials and their snacks.
- Monitor children for signs of distress: Keep an eye on the children as they engage in the activity. Observe if any of them seem frustrated, upset, or unwell, and intervene if necessary.
Activity 2: Fruit Loops Addition
Activity 3: Fruit Loops Patterns
Fruit Loops Painting
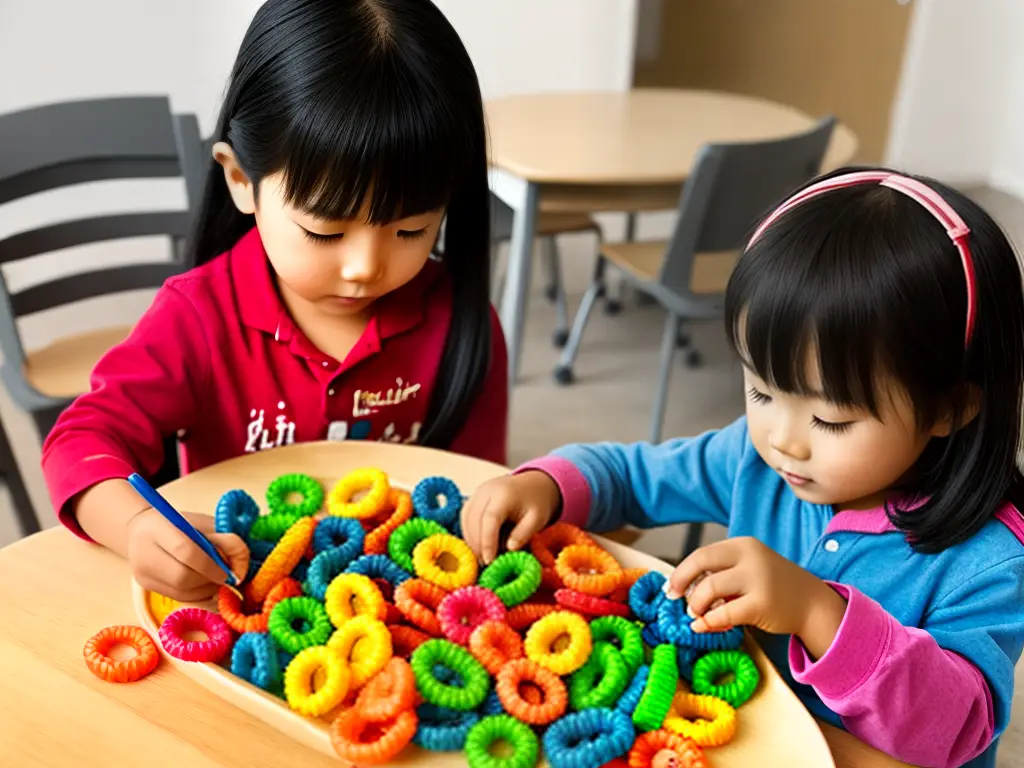
Explore using Fruit Loops as a medium for painting by crushing them and mixing them with water.
Materials needed:
Instructions:
Additional Tips:

Safety Precautions for Fruit Loops-Inspired Crafts for Kids
Fruit Loops-inspired crafts can be a fun and engaging activity for children, allowing them to explore their creativity while working with edible materials. However, to ensure a safe and enjoyable experience, it’s essential to follow safety precautions when working with small children, eating, and creating crafts with edible materials. Below are some safety tips to guide you through this process.
Remember, the key to a successful and safe Fruit Loops-inspired craft session is adult supervision and providing clear guidelines for the children to follow. By adhering to these safety precautions, you can create a fun and educational experience for everyone involved.
Now that you have learned an array of fun and educational activities using Fruit Loops, it’s time to let your creativity soar. Encourage your child to explore new ways of using the cereal in their crafts, and enjoy the endless possibilities together. Most importantly, remember to prioritize safety when working with small children and edible materials, and have a fantastic time creating memorable and colorful crafts with your little ones.