Keeping your sneakers clean and looking their best is an essential aspect of maintaining their longevity and preserving their appearance. In this comprehensive guide, you will uncover the knowledge and techniques required to effectively clean various sneaker materials, choose the right cleaning supplies, and address common stains and issues. By the end of this article, you’ll have the confidence and know-how to tackle any sneaker cleaning challenge with ease.
Understanding Sneaker Materials and Cleaning Methods
Before you start cleaning your sneakers, it’s essential to understand the different materials used in their construction. This knowledge will help you choose the appropriate cleaning methods and products for each kind of material. The most common materials found in sneakers are fabric, leather, suede, and rubber.
- Fabric: A variety of fabrics can be used in sneakers, including canvas, mesh, and knit materials. Fabric sneakers are generally lightweight and breathable, making them ideal for casual wear and sports activities. They may be the easiest to clean, as most fabric materials can be washed with standard cleaning products or even machine washed, depending on the manufacturer’s instructions.
- Leather: Leather sneakers are typically made from animal hide and can be more durable and water-resistant than fabric materials. Genuine leather sneakers can be more expensive than other materials, but they also can provide more comfort and support. Leather sneakers should be cleaned with specialized leather cleaners to prevent damage to the material and maintain their appearance.
- Suede: Suede is a type of leather that has a soft, fuzzy surface. It’s a delicate material that can be easily scratched or damaged if not treated properly. Suede sneakers should be cleaned with specialized suede cleaners and brushes, as they can’t be cleaned with water or standard cleaning products.
- Rubber: Rubber is commonly used for the sole of sneakers and can also be found in some upper sections for added protection and durability. It’s a water-resistant material that provides excellent traction and support. Rubber can be easily cleaned with a mixture of water and mild soap or specialized rubber cleaners.
Once you understand the different materials used in your sneakers, you’ll be able to choose the most effective cleaning techniques for each material. Here are some general guidelines for cleaning different sneaker materials:
- Fabric: Fabric sneakers can usually be cleaned with a soft brush, mild detergent, and water. Some fabric sneakers can also be machine washed, but always follow the manufacturer’s instructions. Allow fabric sneakers to air dry to avoid damaging the material, and avoid exposing them to direct heat.
- Leather: To clean leather sneakers, use a soft, damp cloth or a specialized leather cleaner. Apply the cleaner to the surface of the leather and gently buff away dirt and stains. Do not use water or soap, as they can damage the leather. Condition leather sneakers regularly to maintain their appearance and prevent drying and cracking.
- Suede: Suede sneakers require special care to maintain their delicate surface. Use a specialized suede cleaner and brush to gently clean the material, and avoid using water or soap. To prevent the suede from getting stained or discolored, you can also apply a suede protector spray after cleaning.
- Rubber: To clean rubber soles and details, mix water with a small amount of mild soap, and use a soft-bristle brush to scrub away dirt and stains. Wipe the rubber with a damp cloth to rinse off any soap residue, and pat dry with a clean cloth or towel.
Remember to always follow the manufacturer’s care instructions for your specific sneakers and materials, as improper care can cause damage or void warranties. Regularly cleaning and maintaining your sneakers will help prolong their life and keep them looking fresh and stylish.
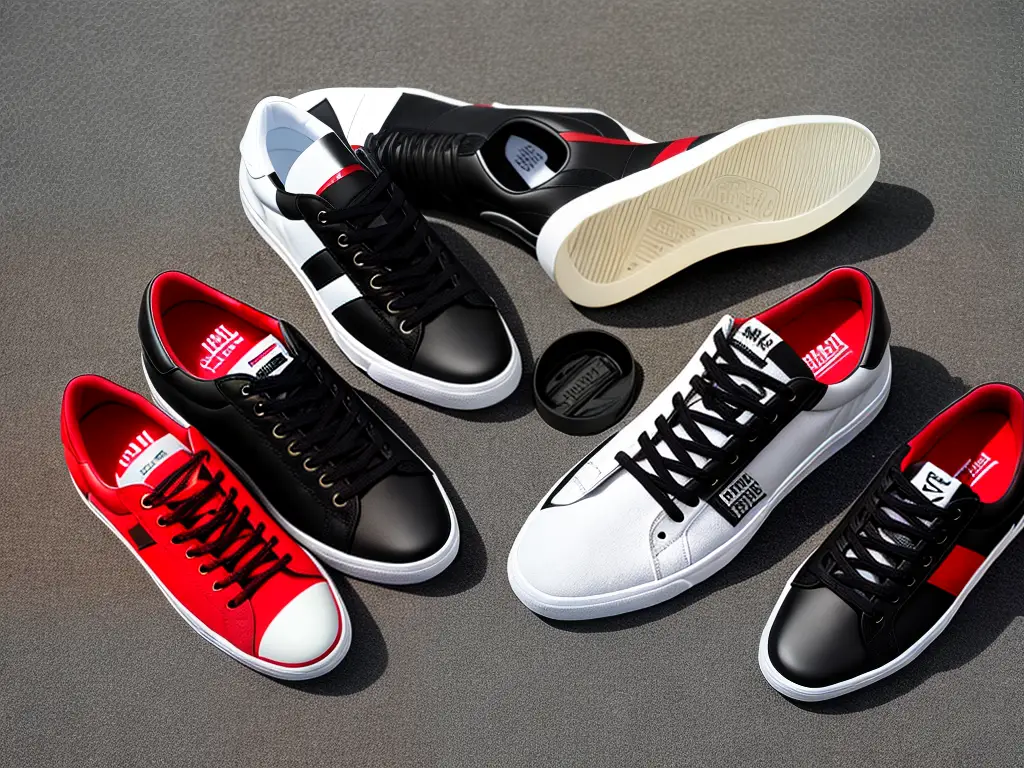
How to Choose the Right Cleaning Supplies for Your Sneakers
Cleaning sneakers can significantly improve their appearance and longevity. However, it’s essential to choose the right cleaning supplies to protect your sneakers’ material and avoid causing damage. Here is a simple guide to help you select the appropriate cleaning products for your sneakers.
Step 1: Identify your sneakers’ material
First and foremost, you need to determine the specific materials of your sneakers. The most common sneaker materials include canvas, leather, suede, mesh, and synthetic materials like rubber and plastic. Knowing the exact material will help you select the appropriate cleaning products without causing damage to your sneakers.
Step 2: Research materials-specific cleaning products
Check the manufacturer’s guidelines and any online reviews or articles related to cleaning supplies specifically recommended for your sneakers’ material. Avoid using harsh chemicals or abrasive tools that can damage the material or discolor your sneakers.
Step 3: Consider a sneaker cleaning kit
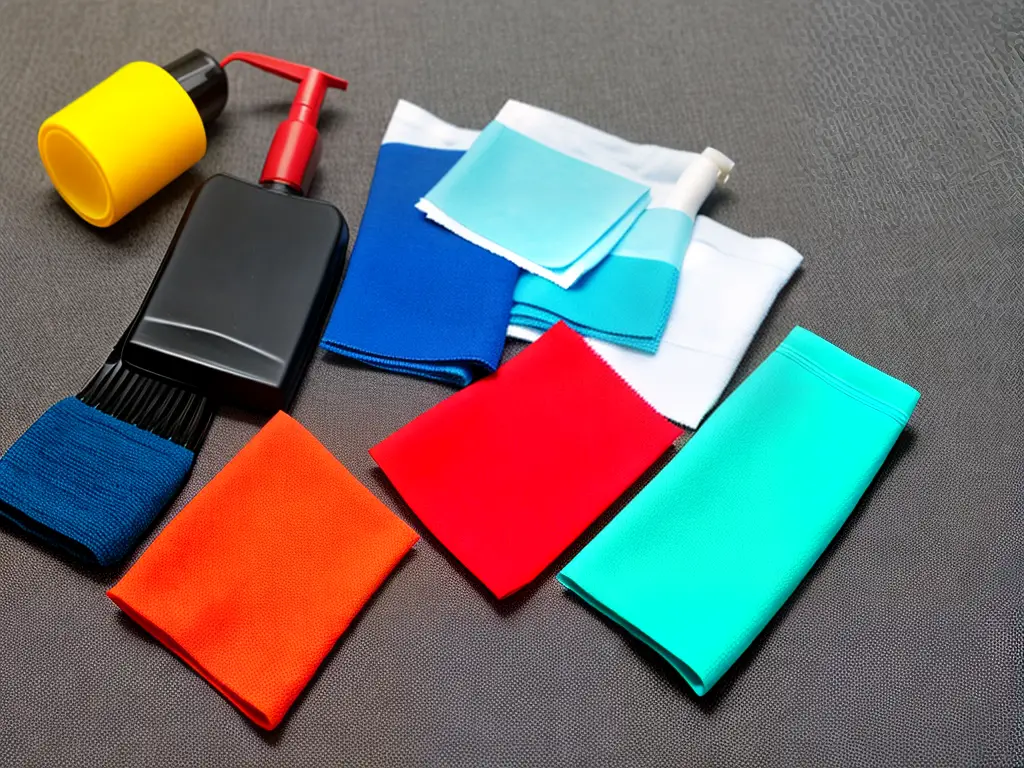
A sneaker cleaning kit often includes all the essential cleaning supplies like a soft brush, microfiber cloth, mild detergent, and instructions. If you’re not sure where to start, consider investing in a sneaker cleaning kit that caters to a wide range of materials. This can save you time and ensure you use the right products to clean your sneakers effectively.
Step 4: Gather individual cleaning supplies
If you prefer to gather individual cleaning supplies or already have some of them at home, make sure you have:
- A soft brush: Ensure the brush has soft bristles made of natural fibers or high-quality synthetic ones. Using a soft brush will prevent scratches and damages to your sneakers’ material. If your sneakers are made of delicate materials like suede, consider a specific suede brush.
- Microfiber cloth: A microfiber cloth is perfect for wiping away dirt without causing scratches. It’s suitable for cleaning various materials such as leather, mesh, and synthetic materials.
- Mild detergent: Opt for a gentle, mild detergent, or even a specialized sneaker cleaning solution for cleaning your sneakers. Harsh soaps and chemicals can be damaging and cause discoloration.
- (Optional) Protective spray: For materials like suede or nubuck, a protective spray can help keep your sneakers looking fresh and prevent future stains.
Step 5: Assemble the supplies
After selecting the appropriate cleaning products for your sneakers, assemble all your supplies and place them in a convenient location so that they are readily accessible when you’re ready to clean your sneakers.
Choosing the right cleaning supplies is crucial to ensure your sneakers are cleaned effectively without causing any damage. By following these simple steps to determine the ideal cleaning products for your sneakers’ specific material, you’ll keep your sneakers looking fresh and extend their lifespan.
Pre-Cleaning Preparation for Sneaker Cleaning
Cleaning your sneakers properly can help extend their lifespan and keep them looking fresh. To ensure a thorough clean, it’s important to prepare your sneakers before you start cleaning. Here are the steps to follow for pre-cleaning preparation:
-
Gather your materials: Before you begin, ensure you have the necessary tools and cleaning products to clean your sneakers. You will need:
-
A soft brush or toothbrush
-
A mild soap or sneaker cleaner
-
A bowl or container for mixing water and soap
-
A clean cloth or sponge
-
A towel
-
Optional: Sneaker protectant spray
-
-
Remove any loose dirt: Begin by knocking your shoes together outside to remove any loose dirt, dust, or debris. If there’s still dirt remaining on the surface of your sneakers, use a soft brush to gently brush away the dirt. Be careful not to damage the shoe’s fabric or materials in the process.
-
Remove the laces: If your sneakers have laces, take the time to remove them before cleaning. This will enable you to clean the surface of your sneakers and laces separately, ensuring they’re both cleaned properly. When removing the laces, take note of their original position so you can easily lace them back up later.
-
Remove the insoles: If your sneakers have removable insoles, take them out before cleaning. This will allow you to clean them separately and ensure they dry completely before reinserting them into your sneakers. If your insoles are not removable, use caution when cleaning around them so as to not saturate them with water.
-
Inspect for any damage or special cleaning needs: While preparing your sneakers, take a moment to inspect them for any damage or specific areas that may need extra attention during the cleaning process. This may include scuff marks, stains, or delicate fabric areas.
-
Prepare your cleaning solution: Mix a small amount of mild soap or sneaker cleaner with water in a bowl or container. You’ll want the solution to be bubbly but not overly soapy.
Now that you’ve completed the pre-cleaning preparation, you’re ready to start cleaning your sneakers. Remember to take care when cleaning delicate fabrics or materials, and always allow your shoes to dry completely before wearing them again. To further protect your sneakers after cleaning, consider applying a sneaker protectant spray to help reduce future staining and dirt accumulation.
Hand Cleaning Techniques for Sneakers
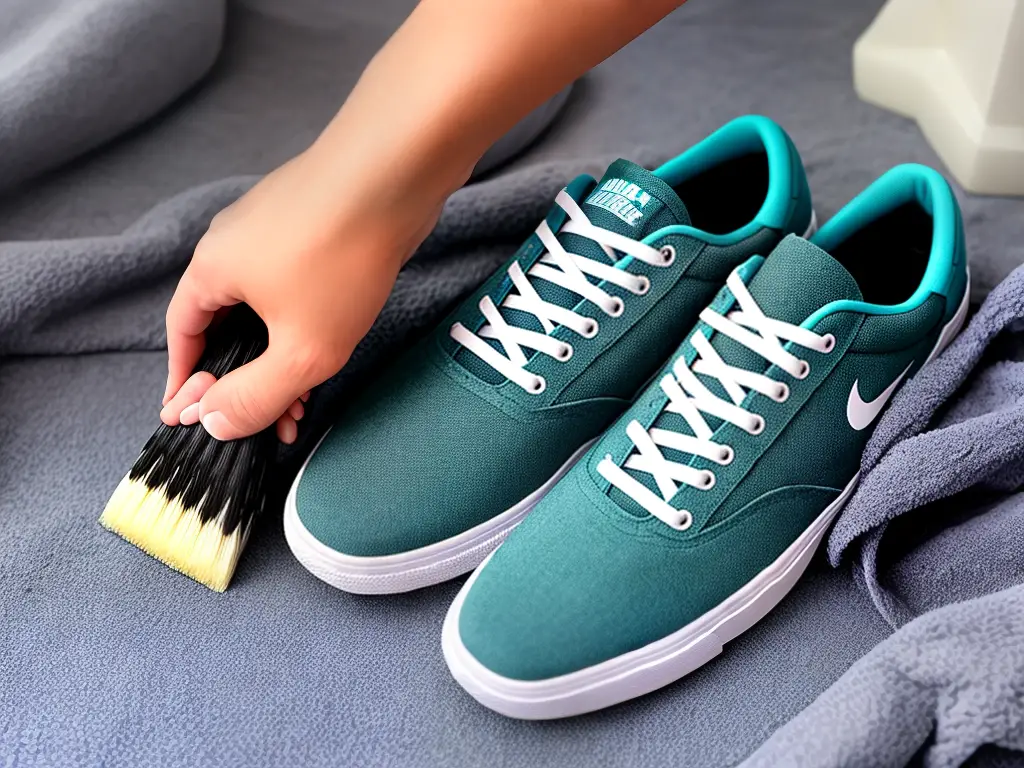
Cleaning your sneakers by hand is an effective way to maintain and prolong their life. It’s important to master the proper techniques for scrubbing, rinsing, and drying to avoid damaging your sneakers. Here’s a step-by-step guide on hand cleaning your sneakers using a soft brush, cloth, and mild detergent.
Materials needed:
- Soft-bristle brush or toothbrush
- Cloth or sponge
- Mild detergent or sneaker cleaner
- Bowl or container
- Warm water
- Paper towels or soft cloth
Instructions:
- Preparation: First, remove the laces from your sneakers and set them aside. If they’re also dirty, you can clean them by hand with soapy water or put them in a mesh bag and throw them in the washing machine.
- Dry brushing: Start by using a soft-bristle brush or toothbrush to brush off any loose dirt or debris from your sneakers. Pay particular attention to the soles and any visible crevices.
- Mixing the cleaning solution: In a bowl or container, mix warm water with a few drops of mild detergent or sneaker cleaner. It’s crucial to use a gentle detergent to prevent any damage to your sneakers’ material.
- Starting the cleaning process: Dampen your cloth or sponge in the cleaning solution and wring out any excess water. Gently wipe the entire surface of your sneakers using the damp cloth or sponge. Be careful not to apply too much pressure, as this can damage the material.
- Scrubbing the sneakers: Dip your soft-bristle brush or toothbrush into the cleaning solution and gently scrub your sneakers in a circular motion. Focus on areas with stubborn stains and dirt, such as the soles and any crevices. Be mindful not to scrub too hard on delicate materials like suede or mesh.
- Rinsing: Once you’ve scrubbed your sneakers, use a clean, damp cloth or sponge to wipe off the cleaning solution. Make sure to rinse the cloth or sponge with fresh water often to avoid spreading dirt and soap residue across the sneakers.
- Drying the sneakers: After rinsing and making sure there’s no soap residue remaining, gently pat your sneakers dry using paper towels or a soft cloth. Do not use direct heat from hair dryers or heaters, as this can cause damage to your sneakers.
- Stuffing the sneakers: To help your sneakers maintain their shape and speed up the drying process, stuff them with crumpled paper towels or a soft cloth. Make sure not to overstuff them, as this can lead to stretching the material.
- Air-drying: Allow your sneakers to air-dry in a well-ventilated area, away from direct sunlight or heat sources. This can take anywhere from a few hours to a full day or more, depending on the material of your sneakers.
- Re-lacing and storage: Once your sneakers are completely dry, re-lace them and store them in a cool, dry place until your next use.
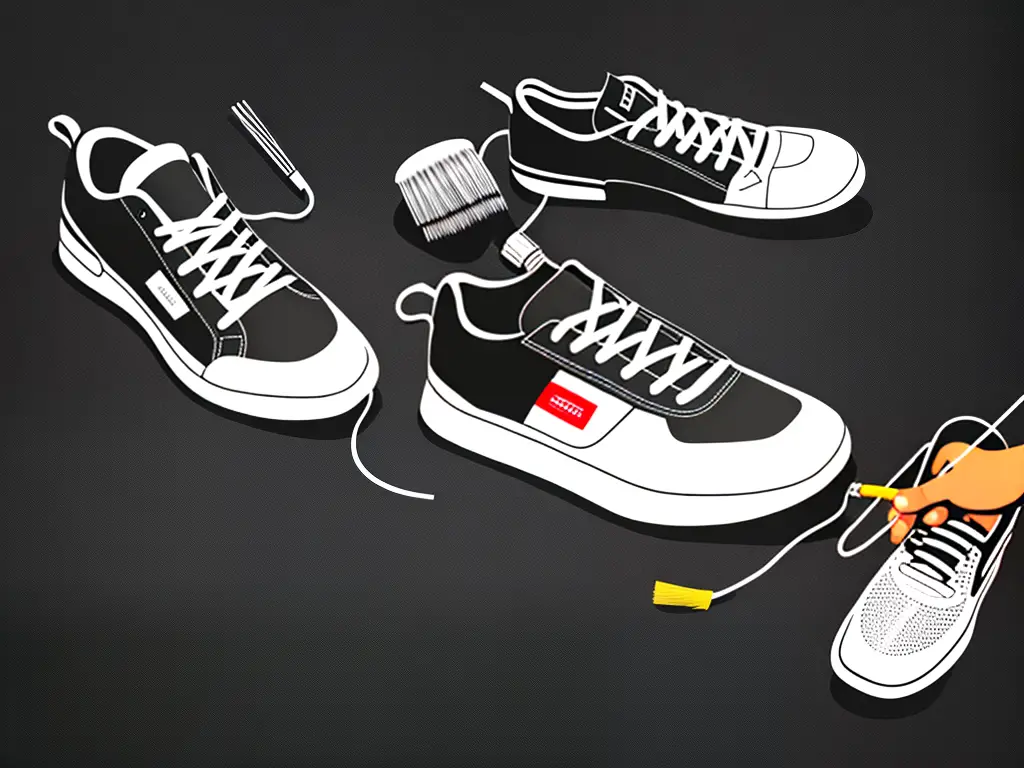
Machine Washing Your Sneakers: Benefits, Risks, and Instructions
Cleaning your sneakers is essential for both hygiene and maintaining their appearance. Machine washing sneakers is a convenient and effective method to accomplish this. However, it’s critical to follow the correct procedure to protect your sneakers during the washing cycle. Let’s explore the benefits, risks, and instructions for machine washing sneakers.
Benefits of Machine Washing Sneakers:
- Easy and efficient: Machine washing sneakers saves time and effort compared to hand washing.
- Deeper clean: A washing machine can provide a more thorough cleaning, especially for hard-to-reach areas.
- Odor removal: Machine washing can help to eliminate unpleasant odors from your sneakers.
Risks of Machine Washing Sneakers:
- Damage to the sneakers: Improper washing settings or overloading the machine may cause damage to the sneakers’ materials, including the fabric, glue, or rubber sole.
- Wear and tear: Over time, excessive machine washing can contribute to the deterioration of your sneakers.
- Fading colors: Some sneakers may fade in color or lose their vibrancy during the washing process.
Instructions for Machine Washing Sneakers:
- Consult the manufacturer’s instructions and tags: Before proceeding, review the manufacturer’s guidelines to ensure that your sneakers are machine washable. Some materials may not be suitable for machine washing.
- Remove any loose dirt and debris: Begin by brushing off any visible dirt from the surface of your sneakers. This will prevent clogging the washing machine and ensure better cleaning results.
- Remove laces and insoles: Take out the laces and insoles, as these should be washed separately to avoid tangling and damage to your sneakers.
- Pre-treat any stains: To improve the chances of removing any tough stains or scuffs on your sneakers, use a pre-treatment solution or a mixture of water and laundry detergent to apply directly to the affected area. Gently scrub the area with a soft brush, then let the solution sit for 15-20 minutes before washing.
- Place your sneakers in a laundry bag: To minimize potential damage, use a mesh laundry bag or a pillowcase to hold your sneakers during the washing cycle.
- Load the washing machine: Add a few towels or clothes to the load to balance the machine and provide extra cushioning for your sneakers. Do not overload the washing machine, as this may cause damage to the sneakers and the machine itself.
- Choose the correct settings: Select a gentle or delicate cycle and use cold water to protect your sneakers from damage. It’s also recommended to use a mild detergent suitable for delicate fabrics.
- Start the washing cycle: Once you’ve selected the appropriate settings, start the washing cycle and allow your sneakers to be cleaned.
- Air dry your sneakers: To maintain the shape and prevent damage to your sneakers, allow them to air dry in a well-ventilated area, away from direct sunlight or heat sources. Avoid using a tumble dryer, as this can cause shrinking or damage to the materials.
- Re-lace and re-insert insoles: After your sneakers are fully dry, you can re-insert the insoles and re-lace your shoes. Your sneakers are now clean and ready to wear.
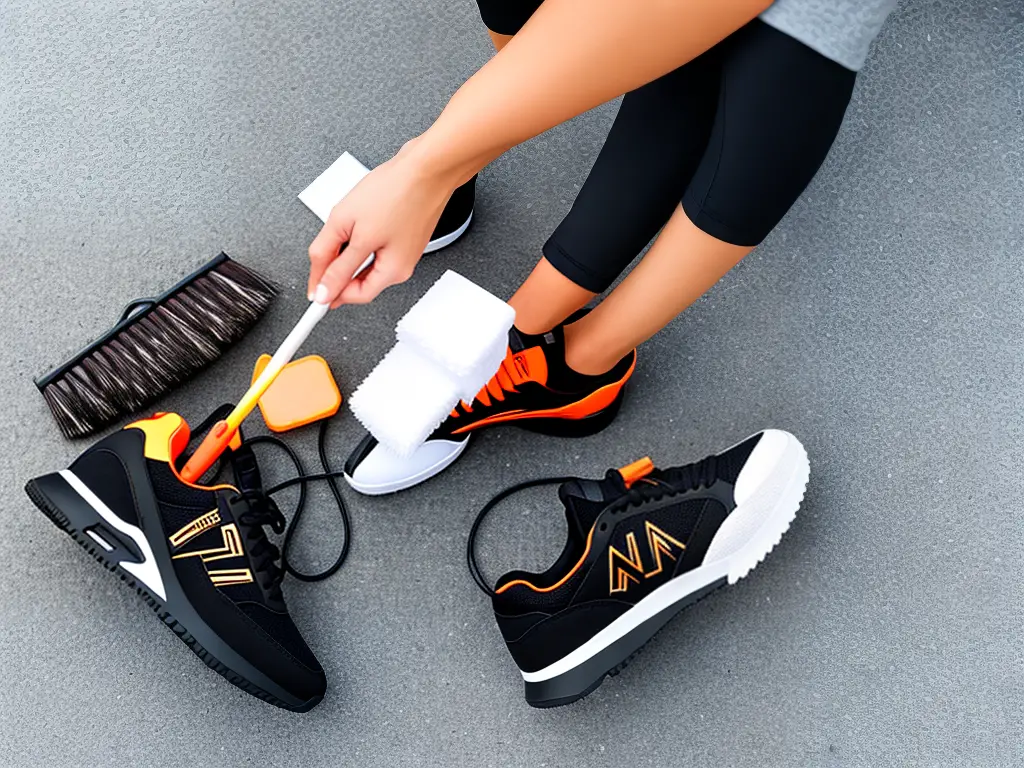
How to Dry Sneakers the Right Way: Best Methods and Techniques
Drying your sneakers properly is essential to maintaining their shape, appearance, and overall longevity. Many of the traditional methods to dry shoes, such as using a radiator or a direct heat source, can actually cause more harm than good. So, it’s crucial to understand the best ways to dry your sneakers without causing any damage. This guide will teach you air drying and shoe dryer techniques that safely and effectively dry your sneakers.
Air Drying
Air drying is the simplest and most cost-effective method to dry your sneakers. It allows the shoes to dry gradually and naturally, preventing damage to the sneaker’s materials. Here is how to air dry your sneakers correctly:
- Remove the insoles and laces: Start by taking out the insoles and laces. This allows better air circulation, speeding up the drying process, and ensuring every part of the shoe dries completely.
- Clean your sneakers: Before drying, make sure your sneakers are clean to prevent any dirt, grime, or moisture from being trapped inside.
- Stuff with newspaper, paper towels, or a dry cloth: To help absorb moisture and maintain the shape of the sneakers, stuff them with newspaper, paper towels, or a dry cloth. Make sure not to overstuff them, as this might cause the sneakers to lose their shape.
- Place the sneakers in a well-ventilated area: Find a spot with good air circulation, such as outdoors or near an open window, and place the sneakers on a flat surface. Make sure they are not exposed to direct sunlight, as this might cause the colors to fade.
- Rotate the sneakers: Every 30 minutes to an hour, turn the sneakers to ensure that they dry evenly. Replace the newspaper, paper towels, or dry cloth as needed.
- Allow the sneakers to dry completely: Depending on the level of moisture, air drying may take several hours to a full day.
Using a Shoe Dryer
Shoe dryers are devices specifically designed to dry shoes safely and efficiently. They use warm, gentle air circulation to dry your sneakers without causing damage. Here’s how to use a shoe dryer:
- Choose the right shoe dryer: There are various types of shoe dryers available in the market, such as electric or portable ones. Choose a shoe dryer that best fits your needs and is compatible with your sneakers’ material.
- Set up the shoe dryer: Place the shoe dryer on a flat, stable surface and follow the manufacturer’s instructions to properly set it up.
- Place the sneakers onto the shoe dryer: Make sure the sneakers are securely placed on the dryer, ensuring proper air circulation.
- Use the appropriate settings: Most shoe dryers have adjustable settings to accommodate different shoe materials and drying times. Choose the appropriate setting for your sneakers.
- Monitor the drying process: Keep an eye on your sneakers while they are on the shoe dryer. Check them periodically to ensure they are drying evenly and not overheating.
- Remove the sneakers once they are dry: Once your sneakers are completely dry, remove them from the shoe dryer and allow them to cool down before wearing them.
Both air drying and using a shoe dryer are effective and safe methods to dry your sneakers without causing damage. Make sure to follow the instructions and avoid drying techniques involving direct heat sources like radiators. Properly drying your sneakers will keep them looking and feeling great for an extended period.
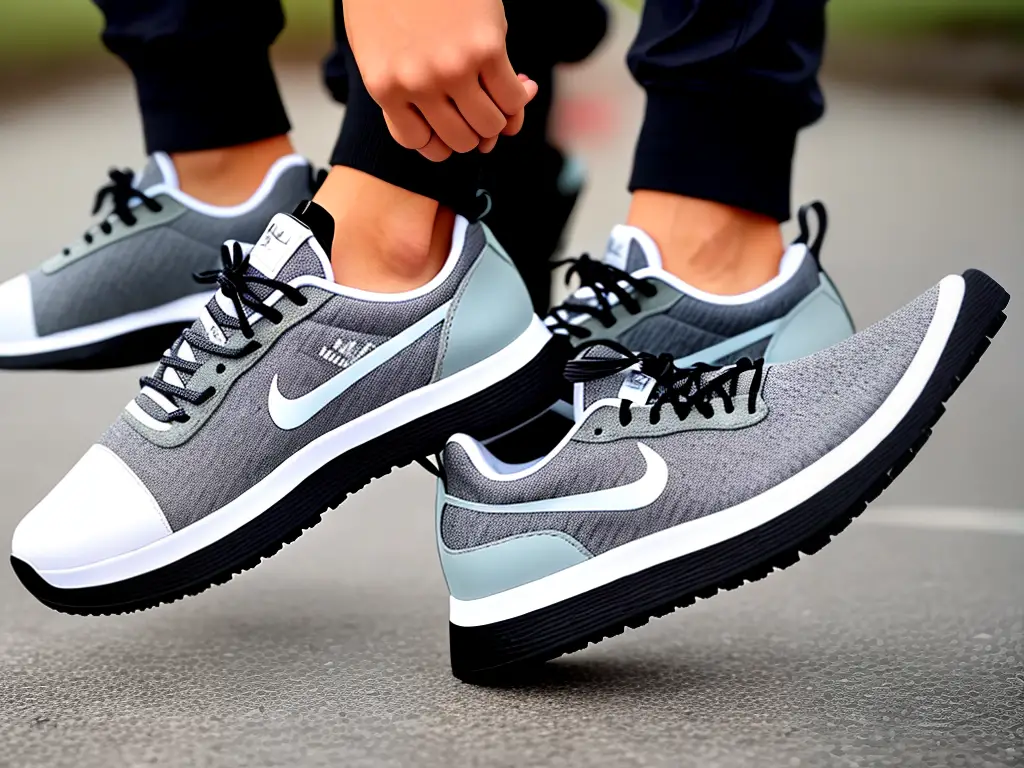
How to Clean White Sneakers: Tips and Techniques for Keeping Your Shoes Bright
White sneakers are a staple in many wardrobes, but keeping them clean can be a challenge. Luckily, there are several tips and techniques to maintain the bright white appearance of your white sneakers without causing yellowing or discoloration. Follow these steps on how to clean your white sneakers for a fresh and clean look every time.
Materials needed:
- Mild liquid soap or sneaker cleaning solution
- Soft-bristle toothbrush or a sneaker cleaning brush
- Clean cloth or sponge
- Warm water
- White vinegar or baking soda (optional for tough stains)
- Microfiber cloth (optional)
- Magic eraser (optional)
Step-by-step instructions:
- Remove the laces: Take off the laces from your sneakers to make sure all parts of the shoe can be easily cleaned. Laces can be cleaned separately by soaking them in a mixture of warm water and soap. Rinse well and let them air dry.
- Brush off excess dirt: Before applying any cleaning solution, brush off any excess dirt from the sneakers using a soft-bristle toothbrush or sneaker cleaning brush. This will prevent the dirt from spreading while cleaning.
- Prepare a cleaning solution: Mix a small amount of mild liquid soap or a sneaker cleaning solution with warm water. You can also use a 1:1 solution of white vinegar and water for tough stains or a paste made from baking soda and water for ground-in dirt.
- Apply the cleaning solution: Dip a clean cloth or sponge into the cleaning solution and gently rub it onto the sneakers, focusing on the stained areas. For tougher stains or hard-to-reach areas, use a toothbrush or sneaker cleaning brush to gently scrub the stains away.
- Rinse your sneakers: After cleaning your sneakers, use a clean cloth or sponge dipped in fresh warm water to wipe away the soap residue. Make sure to rinse thoroughly, as any leftover soap can leave a residue on your shoes.
- Dry your sneakers: Use a clean, dry cloth or microfiber cloth to gently pat the sneakers dry. Avoid using direct heat sources, such as hair dryers or radiators, as they can damage the sneakers’ material and cause yellowing.
- Tackle scuff marks (optional): If you have scuff marks on the soles of your white sneakers, gently rub a magic eraser over the areas to remove the marks.
- Let your sneakers air dry: After cleaning and drying your sneakers, allow them to air dry completely before wearing or storing them. Avoid direct sunlight as it may cause yellowing or discoloration.
- Maintain your white sneakers: To keep your white sneakers looking clean and bright, try to clean them regularly and avoid wearing them in muddy or dirty environments. If you notice any stains, address them as soon as possible for easier cleaning.
With a bit of effort and care, you can keep your white sneakers looking clean and bright. Remember to clean them regularly and use the right techniques and products to avoid damaging or discoloring your shoes. In no time, you’ll have fresh, white sneakers that make a statement wherever you go.
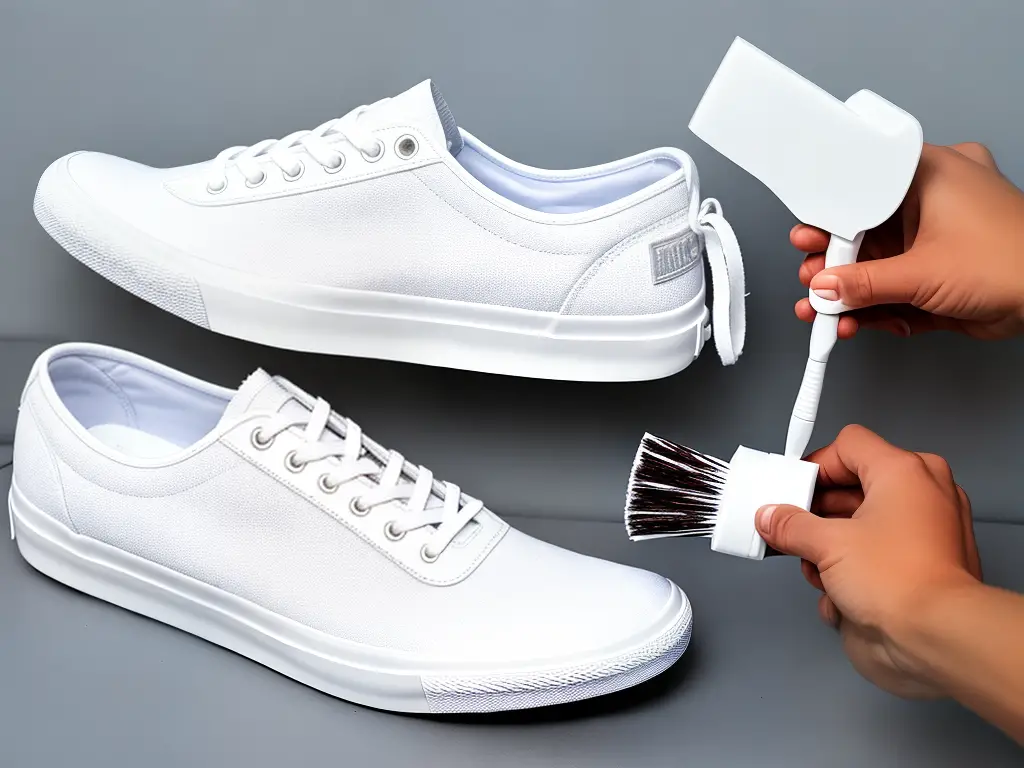
How to Clean Leather and Suede Sneakers
Cleaning Leather Sneakers:
- Gather necessary supplies: You will need a clean cloth or sponge, mild soap (such as hand or dish soap), water, leather cleaner, and leather conditioner.
- Remove the laces: Before you start cleaning, remove the laces from your sneakers. You can wash them separately, either by hand or by placing them in a laundry bag and washing in a washing machine.
- Prep the leather: Begin by wiping the surface of your leather sneakers with a clean, damp cloth or sponge to remove any loose dirt and debris.
- Create a cleaning solution: Mix a few drops of mild soap with lukewarm water, and then dip the clean cloth or sponge in the solution.
- Clean the leather: Gently scrub the leather with the soapy cloth, working in sections and focusing on any particularly dirty or stained areas. Be careful not to use too much water or soap, as this can damage the leather.
- Rinse and dry: Use a clean, damp cloth or sponge to wipe away any soap residue from the sneakers. Then use a soft, dry cloth to gently dry the leather.
- Apply leather cleaner: Follow the manufacturer’s instructions for the leather cleaner, applying it to the surface of your sneakers with a clean, dry cloth.
- Condition the leather: After the sneakers are completely dry, apply leather conditioner to help protect and maintain the leather. Again, follow the manufacturer’s instructions for proper application.
- Let the sneakers dry: Allow your sneakers to air-dry completely, away from direct sunlight or heat sources. Do not use a hairdryer or other heat source to speed up the drying process, as this can damage the leather.
- Re-lace the sneakers: Once your sneakers are completely dry, replace the clean and dry laces.
Cleaning Suede Sneakers:
- Gather necessary supplies: You will need a suede brush, suede eraser, clean cloth, and suede cleaner or white vinegar.
- Remove the laces: As with leather sneakers, remove the laces from your suede sneakers before cleaning. Wash them separately as instructed above.
- Brush off loose dirt: Using the suede brush, gently brush the surface of your sneakers to remove any loose dirt and debris.
- Remove stains and scuffs: For scuff marks or stains, use the suede eraser to gently rub the affected areas. Be careful not to apply too much pressure, which can damage the suede.
- Clean the suede: For dirt that cannot be removed with the eraser, you can use a suede cleaner or a mixture of equal parts water and white vinegar. Moisten a clean cloth with the cleaner or vinegar solution, and gently dab it on the stained area. Do not rub or apply too much liquid, as this can damage the suede.
- Dry the sneakers: Allow the sneakers to air-dry completely, away from direct sunlight or heat sources.
- Restore the nap: Once the sneakers are completely dry, use the suede brush to gently brush the surface and restore the nap. Brush in a single direction to avoid damaging the suede.
- Protect your shoes: You may also consider using a suede protective spray to help prevent future stains and dirt buildup. Follow the manufacturer’s instructions for proper application.
- Re-lace the sneakers: Replace the clean and dry laces once your sneakers are completely dry.

Maintaining Sneaker Cleanliness
Keeping your sneakers clean and fresh is essential for maintaining their appearance and durability. By following some simple steps, you can easily keep your sneakers looking brand new for a long time. Here’s how to maintain sneaker cleanliness:
- Regular cleaning: Develop a habit of cleaning your sneakers regularly, preferably after every few wears. This will prevent the buildup of dirt and stains and keep them looking fresh.
- Remove dirt: Use a soft brush or an old toothbrush to remove dirt and debris from the surface of your sneakers. You may also use a damp cloth or sponge to gently wipe and clean the surface of your sneakers.
- Wash your sneakers: For canvas or fabric sneakers, you may use a mild detergent to clean your sneakers. Mix the detergent with warm water and gently scrub the surface of your sneakers using a soft brush. Rinse thoroughly and air dry. Leather or suede sneakers should be cleaned with products specifically designed for those materials.
- Clean the soles: Use a brush to clean the outsoles of your sneakers, removing any dirt or debris.
- Wash the laces: Detach the laces and wash them separately using a mild detergent. Allow them to air dry before relacing your sneakers.
- Use protective products: Apply sneaker protectant sprays or creams to create a barrier on the surface of your sneakers. These products help in repelling dirt, stains, and water, making it easier for you to clean and maintain them. Make sure to follow the manufacturer’s instructions for proper application.
- Proper storage: Store your sneakers in a cool, dry place away from direct sunlight. Sunlight can cause yellowing or discoloration of your sneakers. If possible, use a shoe rack or shoe organizer to keep your sneakers organized and prevent them from being crushed or deformed.
- Use shoe trees: Insert shoe trees or newspaper into your sneakers after each wear to help maintain their shape, absorb moisture, and reduce odors. Shoe trees made of cedar wood are especially beneficial, as they not only help maintain the shape but also have a pleasant scent that helps to deodorize your shoes.
- Rotate your sneakers: Avoid wearing the same pair of sneakers every day. Rotating your sneakers will allow them to air out and reduce the wear and tear on a single pair.
- Spot cleaning: Address stains or spills as soon as possible. Use a gentle cleaner and a soft brush to remove the stain. For suede or leather sneakers, use a specialized cleaner and follow the manufacturer’s instructions for best results.
By following these steps and incorporating regular cleaning, using protective products, and practicing proper storage techniques, you can maintain the cleanliness and appearance of your sneakers, ensuring that they remain fresh and stylish.
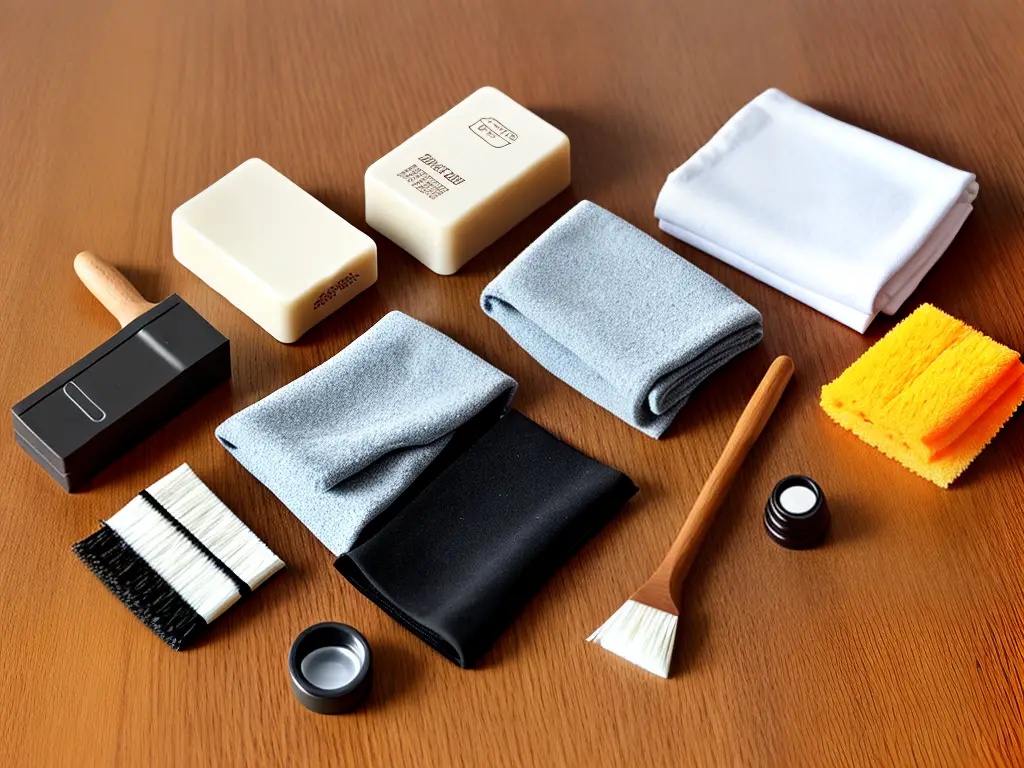
How to Clean Sneakers: Addressing Common Stains and Issues
Cleaning your sneakers can seem like a daunting task, particularly when faced with various stains and issues. Fear not! In this guide, we’ll cover methods and products that will help you tackle common sneaker stains like scuffs, grass stains, or oil marks. With a little patience and the right techniques, your sneakers will look as good as new!
1. Gather your materials:
- A soft bristle brush (an old toothbrush will do)
- A clean cloth or towel
- Mild laundry detergent or dish soap
- Warm water
- Stain-specific cleaning products (we’ll go over these in the sections below)
- A bowl or container for mixing cleaning solutions
- Optional: Magic eraser or melamine foam for scuffs
2. Preliminary cleaning:
- Remove any dirt, mud, or debris by brushing it off with a soft bristle brush.
- If needed, use a slightly damp cloth to remove any remaining dirt.
- Let the sneakers air dry completely before proceeding.
3. Scuffs:
- Dampen a clean cloth or sponge with warm water and apply a small amount of mild laundry detergent or dish soap.
- Gently scrub the scuffed area in a circular motion.
- If the scuffs are still visible, consider using a magic eraser or melamine foam. Lightly dampen the magic eraser and gently scrub the scuffed area.
- Wipe away any excess soap with a clean, damp cloth.
- Allow the sneakers to air dry.
4. Grass stains:
- Mix a solution of 1 part warm water, 1 part white vinegar, and 1 part dish soap.
- Soak the soft bristle brush in the solution and gently scrub the grass-stained area in a circular motion.
- Rinse the area with clean water and use a clean cloth to gently blot the area dry.
- Let the sneakers air dry. If the stain persists, repeat the steps above.
5. Oil marks:
- Apply a small amount of dish soap directly onto the oil stain.
- Using a soft bristle brush, gently scrub the oil-stained area in a circular motion.
- Rinse the area under warm water and gently pat dry with a clean cloth.
- Allow the sneakers to air dry.
6. Mud stains:
- Let the mud dry completely, then brush off as much as possible with the soft bristle brush.
- Mix a small amount of laundry detergent and warm water to create a soapy solution. Dip the brush in the solution and scrub the mud-stained area in a circular motion.
- Rinse the area with clean water and use a clean cloth to gently blot the area dry.
- Allow the sneakers to air dry.
7. Post-cleaning care:
- After your sneakers have dried, check for any remaining stains or issues. If necessary, repeat the appropriate stain-specific cleaning methods above.
- To prevent future stains, consider using a sneaker protector spray according to the manufacturer’s instructions.
- Store your shoes in a cool, dry place away from direct sunlight to help maintain their appearance and lifespan.
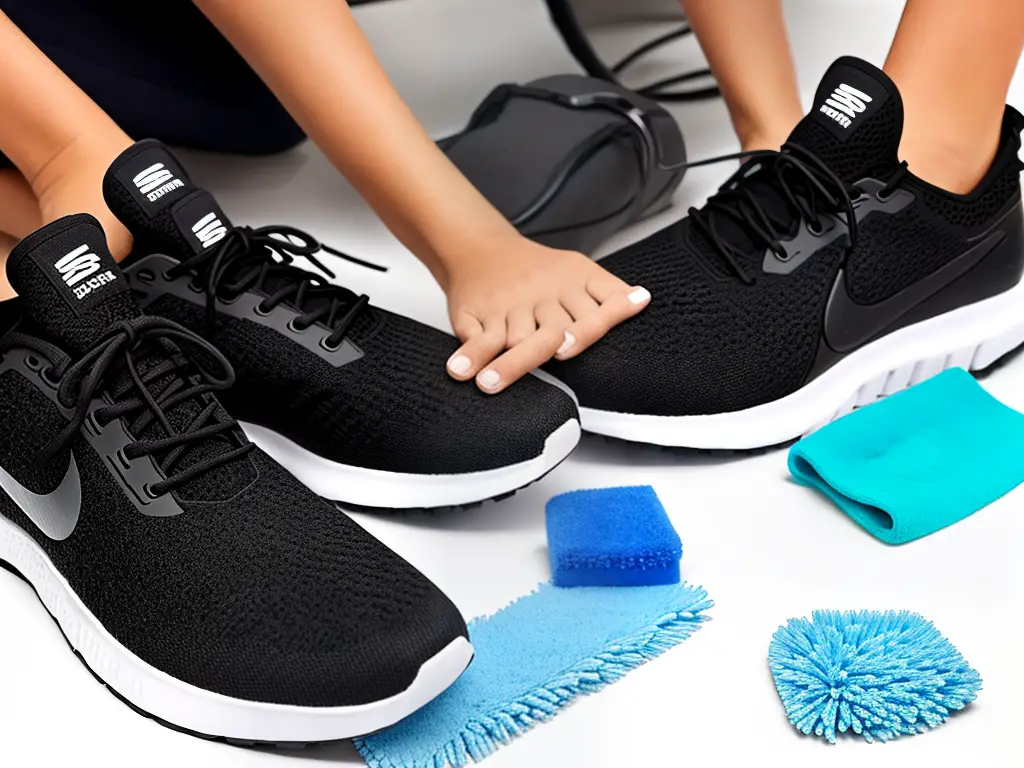
Now that you have gained valuable insights into cleaning sneakers, you can put your newfound knowledge into practice and ensure your shoes remain fresh and stylish for years to come. Remember to always carefully consider the materials of your sneakers, use the appropriate cleaning supplies, and follow the recommended techniques for each specific type of stain. With a little effort and attention to detail, your sneakers will maintain their pristine appearance and serve you well for many miles ahead.