Tying shoelaces is a universal skill that most individuals learn during their childhood. The seemingly simple task not only ensures that your shoes stay firmly on your feet but also adds a touch of personal style to your footwear. This article will guide you through the world of shoelace tying, helping you understand different materials, choose the right length, learn basic and alternative tying methods, discover life hacks and solutions to common shoelace problems, and hone your shoelace tying prowess.
Understand different shoelace materials
Before learning how to tie shoelaces, it’s essential to know about different types of shoelace materials. The material used to make shoelaces can impact the tying process and how well your shoelaces will stay tied throughout the day. Here is an overview of some common shoelace materials and their properties:
Cotton shoelaces:
- Cotton shoelaces are soft and flexible, making them easy to tie and adjust
- However, they tend to become dirty, wear out, and fray relatively quickly.
- Cotton laces are often used for casual shoes or sneakers and may lose tension as you go about your day, requiring retying.
Polyester shoelaces:
- Polyester laces are durable, lightweight, and resistant to moisture and wear.
- They offer a good balance between flexibility and strength, making them a popular choice for various types of shoes.
- This type of shoelace is easy to tie and holds knots well, so you don’t need to worry about frequently retying your shoes.
Nylon shoelaces:
- Nylon shoelaces are strong, durable, and have a smooth texture.
- Due to their slick surface, nylon laces may be more challenging to tie, and the knots may slip or come undone more easily than other materials.
- However, once properly tied, they hold tension well.
- They are often used for athletic shoes or heavy-duty footwear (such as work boots or hiking boots) because of their strength and resistance to wear.
Now that you know the different types of shoelace materials, here’s a step-by-step guide on how to tie your shoelaces:
- Begin by threading the shoelaces through the bottom eyelets of your shoes, with the ends pointing outwards. Make sure that the lace lengths are even on both sides.
- Cross the left lace (let’s say it’s Lace A) over the right lace (Lace B), creating an ‘X’ shape. Then, thread Lace A under Lace B and pull both laces tight to form a snug knot at the base of the shoe.
- Pinch the middle of Lace A between your thumb and index finger, creating a small loop (also known as a ‘bunny ear’).
- Hold the loop in place securely using your left hand. With your right hand, take Lace B and wrap it around the ‘bunny ear’ loop (counterclockwise) that you’ve created with Lace A.
- As you wrap Lace B around Lace A’s loop, push a portion of Lace B through the gap between the two laces (where you crossed Lace B over Lace A) to create a second loop.
- Hold the new loop you created with Lace B, and pull both the original loop (Lace A) and the new loop (Lace B) tight. This should form a secure bow.
- Adjust your bow to the desired size, ensuring the knot is tight enough to hold its position throughout the day.
Now that you know how to tie shoelaces and understand how different shoelace materials may affect the tying process, you can confidently tackle any shoe with ease. Practice tying and untying your shoelaces with various materials to get a feel for the differences in grip and tension.

Choose the right shoelace length
To choose the right shoelace length for your shoes, follow these instructions:
- Determine your shoe type: Different types of shoes, such as running shoes, casual shoes, or boots, may require different lengths of shoelaces. This is because they have a varying number of eyelets or may need extra length for additional support.
- Count the number of eyelets on your shoe: Count the number of eyelets on one side of your shoe, then multiply by 2 to get the total number of eyelets. For example, if your shoe has 4 eyelets on one side, the total number of eyelets would be 8.
- Measure your current shoelaces (optional): If you have a pair of shoes with the correct length of shoelaces, simply measure the length of one of the laces and use it as a reference for purchasing new ones.
- Consult a shoelace length chart: There are various shoelace length charts available online that provide suggested shoelace lengths based on the number of eyelets and type of shoe. These charts can help you determine the right length of shoelaces for your shoes.
- Here’s a general guideline based on the total number of eyelets for your shoes:
- 4-5 eyelets: 27-36 inches (68-91 cm)
- 6-7 eyelets: 36-45 inches (91-114 cm)
- 8-9 eyelets: 45-54 inches (114-137 cm)
- 10-12 eyelets: 54-63 inches (137-160 cm)
- 12-14 eyelets: 63-72 inches (160-183 cm)
Please note that these are approximate lengths and can vary slightly depending on your preference for how long you want the ends of the shoelaces to be after tying.
- Consider the width of your shoelaces: Generally, athletic shoes require wider shoelaces, while dress shoes and casual shoes use thinner laces. Make sure to choose the right width of shoelaces for your specific shoes.
After choosing the right shoelace length, you are now ready to tie them. With practice, you’ll be able to master the art of tying shoelaces and feel confident in your footwear.

Basic shoelace tying method
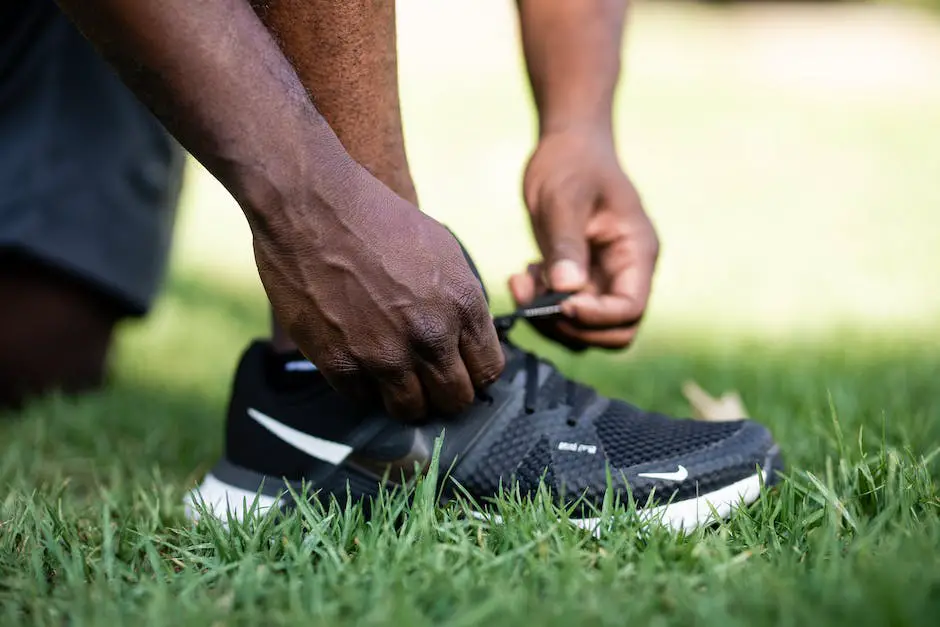
Begin with your shoe on your foot, ensuring that your shoelaces are threaded properly through all the eyelets and that they are even on both sides.Grab both ends of the shoelaces, one in each hand, with your thumbs facing down and your index fingers pointing towards your toes.Cross the right shoelace over the left shoelace, forming an “X” shape. Tuck the right shoelace under the left shoelace, pulling it through the hole formed where the two laces overlap.Pull both shoelaces tightly to create a simple knot at the base of your shoe.Hold the right shoelace up with your thumbs facing up and your index fingers facing away from you. Pinch the lace between your thumbs and index fingers, creating a loop about the size of the final bow you desire. This will be referred to as the “right loop.”Repeat step 5 with the left shoelace, forming the “left loop.” Make sure both loops are of similar size.Cross the right loop over the left loop, forming another “X” shape, just as you did in step 3.Tuck the right loop under the left loop, pulling it through the hole formed where the two loops overlap. Maintain a firm grip on the loops as you tighten the knot to form a secure bow.Adjust the size of the loops and the length of the loose shoelace ends by gently pulling on them until the desired size and look is achieved.Congratulations! You have successfully tied your shoelaces using the standard method. Now, go out and enjoy your securely fastened shoes.
Alternative shoelace tying methods
Alternative Shoelace Tying Methods
Bunny Ear Method:
Step 1: Starting with the shoelaces already threaded through the holes in the shoes, and flat against the surface of the shoes, pull both ends of the shoelaces outwards to tighten them.
Step 2: Cross the two ends of the shoelaces over one another, forming an X shape. Thread one end of the shoelace through the gap created by the X, then pull them tight.
Step 3: Create two loops (the ‘bunny ears’) on each of the shoelace ends by simply folding the laces back onto themselves without twisting them.
Step 4: Cross the ‘bunny ears’ over each other, again forming an X shape.
Step 5: Thread one of the ‘bunny ears’ through the gap in the X, just as in step 2, and pull both loops tightly. You now have a securely tied bow on your shoes.
Reef Knot Method:
Step 1: Begin by making sure your shoelaces are already threaded through the holes in the shoes, and lying flat against the surface of the shoes.
Step 2: Pull both ends of the shoelaces outwards to tighten them.
Step 3: Cross one end of the shoelaces over the other, forming an X shape. Thread the end of the lace on top through the gap created by the X, and pull both ends tight.
Step 4: Cross the same end that was on top in step 3, over the other end, forming another X shape. Thread the now bottom lace through the gap created by the X and pull tight.
Step 5: You have now tied a secure reef knot, which is known for its symmetrical appearance and ease of untying when needed. To avoid slips, make sure the ends of the shoelaces are long enough to ensure the knot stays in place.
Quick-Release Method:
Step 1: As with the other methods, start by making sure your shoelaces are threaded through the holes in the shoes and lying flat against the surface.
Step 2: Pull both ends of the shoelaces outward to tighten.
Step 3: Bend one end of the shoelace back towards the shoe, leaving a small loop at its tip. Hold this loop in place with your thumb and index finger.
Step 4: Take the other end of the shoelace and wrap it around the loop you created in step 3. Pull it tight, so the loop of the lace stays in place.
Step 5: Create another loop with the now free end of the shoelace by folding the lace back on itself. Hold this loop with your thumb and index finger.
Step 6: Hold the shoelace in place and gently pull both loops outward.
Step 7: The quick-release knot can now be easily undone by simply pulling both ends of the shoelaces. This method is particularly useful for those who need to remove their shoes quickly, such as athletes or medical personnel.

Shoelace tying life hacks
Tying shoelaces is a basic yet essential life skill that everyone should learn. Many people learn to tie their shoes as kids, but not everyone knows the various tricks and techniques for tying shoelaces quickly, securing loose ends, and preventing knots or tangles. In this guide, we will explore different shoelace tying life hacks to help you lace up like a pro.
The Bunny Ear Method:
Perhaps the simplest shoelace tying technique, the Bunny Ear method is easy to learn and quick to execute.
- Start with your laces properly threaded through the eyelets of your shoes.
- Pull both ends of the lace and cross one end over the other, pulling it through the loop.
- Make two loops (bunny ears) with both ends of the lace.
- Cross the bunny ears over each other and pull the one farthest from you through the loop created by the other.
- Pull both bunny ears to tighten the knot securely.
The Ian Knot:
Touted as the world’s fastest shoelace knot, the Ian Knot can save you time and effort when tying your shoes.
- Start with your laces properly threaded through the eyelets of your shoes.
- Hold both ends of the laces between your thumbs and index fingers.
- Cross your hands to create an “X” shape with your laces.
- Using your free fingers, pull a loop of each lace through the center of the “X.”
- Carefully pull the loops outward to tighten the knot.
Tuck in loose ends:
Loose ends can cause tripping and look untidy. To secure loose ends, you can tuck them into the sides of your shoes or underneath your laces.
- Adjust your laces to ensure they are equal in length on both sides.
- Tie your chosen shoelace knot securely.
- Tuck the loose ends of the laces into the sides of your shoes, or thread them under the horizontal sections of your laces and pull snugly.
Use a “lace lock” to prevent knot slippage:
A lace lock is an easy way to secure your shoelaces and prevent them from coming undone during the day.
- Before tying your shoelace knot, create a loop with each lace and hold them in each hand.
- Cross the loops and pull one loop through the hole created by the other loop.
- Pull the loops tight to create a lock.
- Tie your preferred knot on top of the lace lock to ensure that it stays secure.
Double knots for extra security:
If you have particularly slippery laces or are worried about your shoelace knots coming undone, try using a double knot for extra security.
- Tie your preferred shoelace knot as usual.
- Create a simple overhand knot by crossing the two loose ends again and snuggly pulling one end through the loop created by the other end.
- Pull tight to secure the double knot.
Tying shoelaces doesn’t have to be a chore or a source of frustration. With these shoelace tying life hacks, you can secure your shoes quickly and easily, ensuring that you stay comfortable and safe throughout your day. From the Bunny Ear method to the Ian Knot, experiment with these techniques to find your favorite way to lace up your shoes like a pro.

Common shoelace problems and solutions
Uneven Shoelace Lengths – If you find that one end of your shoelace is significantly longer than the other, this could lead to difficulty in tying a balanced and secure knot. To fix this problem, first untie your shoelaces completely. Next, pull both ends of the shoelace to ensure that they are even at the center of the shoe, where the laces cross. Adjust the laces accordingly, ensuring that the shoe remains snug and comfortable on your foot. Lastly, tie your shoelace like you normally would, and you should have evenly balanced lace lengths.Broken or Frayed Shoelace Tips – Broken or frayed shoelace tips can make it difficult to lace or unlace your shoes, as well as create an untidy appearance. To repair a broken aglet, you can use one of the following methods: Apply clear nail polish or glue to the frayed ends of the shoelace and twist it tightly to form a new, sealed aglet. Allow it to dry completely before using the shoelace. Use heat shrink tubing. Cut a small piece of heat shrink tubing, that is just slightly longer than the damaged aglet. Place the tubing over the frayed lace end, and then carefully apply heat (using a lighter or a hairdryer) to the tubing until it shrinks tightly around the lace.Shoelaces Keep Coming Untied – If your shoelaces continually come undone, it’s likely that you’re not tying them securely enough, or you’re using a method that loosens easily. Try using the ‘double-loop’ or ‘bunny ears’ method to create a more secure knot. Begin by tying a regular starting knot, looping one lace end over the other and pulling tight. Create a loop with each end by simply folding the lace back onto itself. Cross the two loops over each other, just as you would in a regular knot. Tuck one loop under the other and pull tight. This should result in a secure, double-looped knot that should stay in place throughout the day.Difficulty Lacing Shoes When the Laces Are Too Short – When shoe laces are too short, it can be difficult to lace your shoes and tie them properly, resulting in discomfort or ill-fitting shoes. The simplest solution is to purchase longer shoelaces that better suit the size of your shoe and the lacing style you prefer. Alternatively, you can try adjusting your lacing method. For example, you can skip an eyelet or use a smaller crisscross pattern to save lace length. Also consider trying ‘straight bar lacing’ for a more minimalist look while using less lace.Shoelaces Are Too Long – Long shoelaces can create a messy appearance and can be a tripping hazard if they drag on the ground. If your shoelaces are too long, you can either trim them to a shorter length and secure the cut ends with clear nail polish or glue to prevent fraying, or purchase shorter shoelaces designed for your specific type of shoe. Another option is to tie an additional knot or two after tying your regular bow, which will use up some of the excess length and keep the ends off the ground.
Practicing and perfecting shoelace tying
Gather your materials: To start practicing, you’ll need a pair of shoes with laces or a shoelace board. Make sure the laces are long enough to tie easily without being too long. You can use shoes that you wear daily or an old pair that you no longer wear.Find a comfortable spot: Have a comfortable chair to sit on while practicing shoelace tying. Good posture and proper height will make it easier for you to see and reach your shoelaces.Start with the basic knot: Hold one lace in each hand. Cross the right lace over the left lace, then pull the right lace under the left lace, making a simple twist. Tighten the laces by pulling both ends away from each other.Create the loops: Make a loop with the right lace by folding it back on itself. Hold the loop between your right thumb and index finger. Using your left hand, grab the left lace and wrap it around the right loop, moving from right to left.Complete the bow: While holding the left lace wrapped around the right loop, use your left index finger and thumb to push a small section of the left lace through the opening between the two loops. Pull both loops tight to finish the bow.Repeat the process: The key to perfecting your shoelace tying skills is repetition. Practice tying your shoelaces multiple times to develop muscle memory and to become more comfortable with the process.Try different tying methods: There are several ways to tie shoelaces, such as the ‘bunny ears’ method or the ‘Ian Knot.’ Experiment with these different techniques to find the one that works best for you.Test your skills on different types of shoes: Practice tying shoelaces on various shoes, including athletic shoes, dress shoes, and boots. Each type of shoe may have slightly different lace lengths, eyelet spacing, or stiffness, which can affect the feel of tying your shoelaces.Increase your speed: As you become more comfortable with shoelace tying, challenge yourself to tie your shoelaces more quickly and efficiently. Set a timer and practice tying your shoes as quickly as possible while maintaining a secure knot.Teach others: One of the best ways to solidify your understanding is by teaching someone else how to tie their shoelaces. This will help you reinforce your knowledge and identify any areas of the process you might still need to work on.Remember, practice makes perfect. Continue practicing these steps regularly, and you’ll become an expert at tying shoelaces in no time.
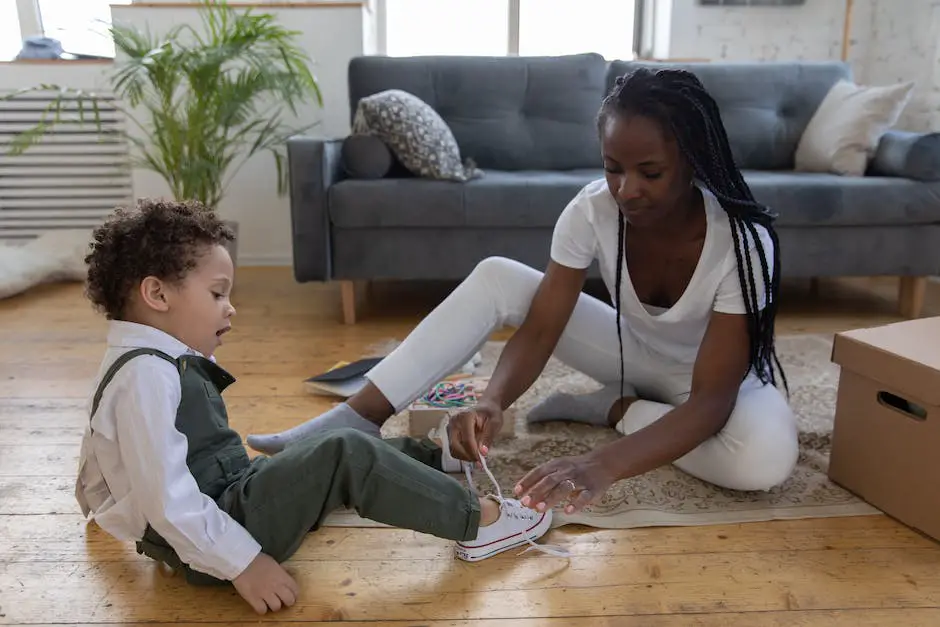
Armed with the knowledge and skills presented in this guide, you are now prepared to confidently tie your shoelaces in various ways and address any shoelace-related challenges that may arise. Remember that practice makes perfect, so don’t be afraid to experiment and try new techniques. Soon enough, you’ll be an expert at keeping your kicks secured and cruising through life with style and ease.